

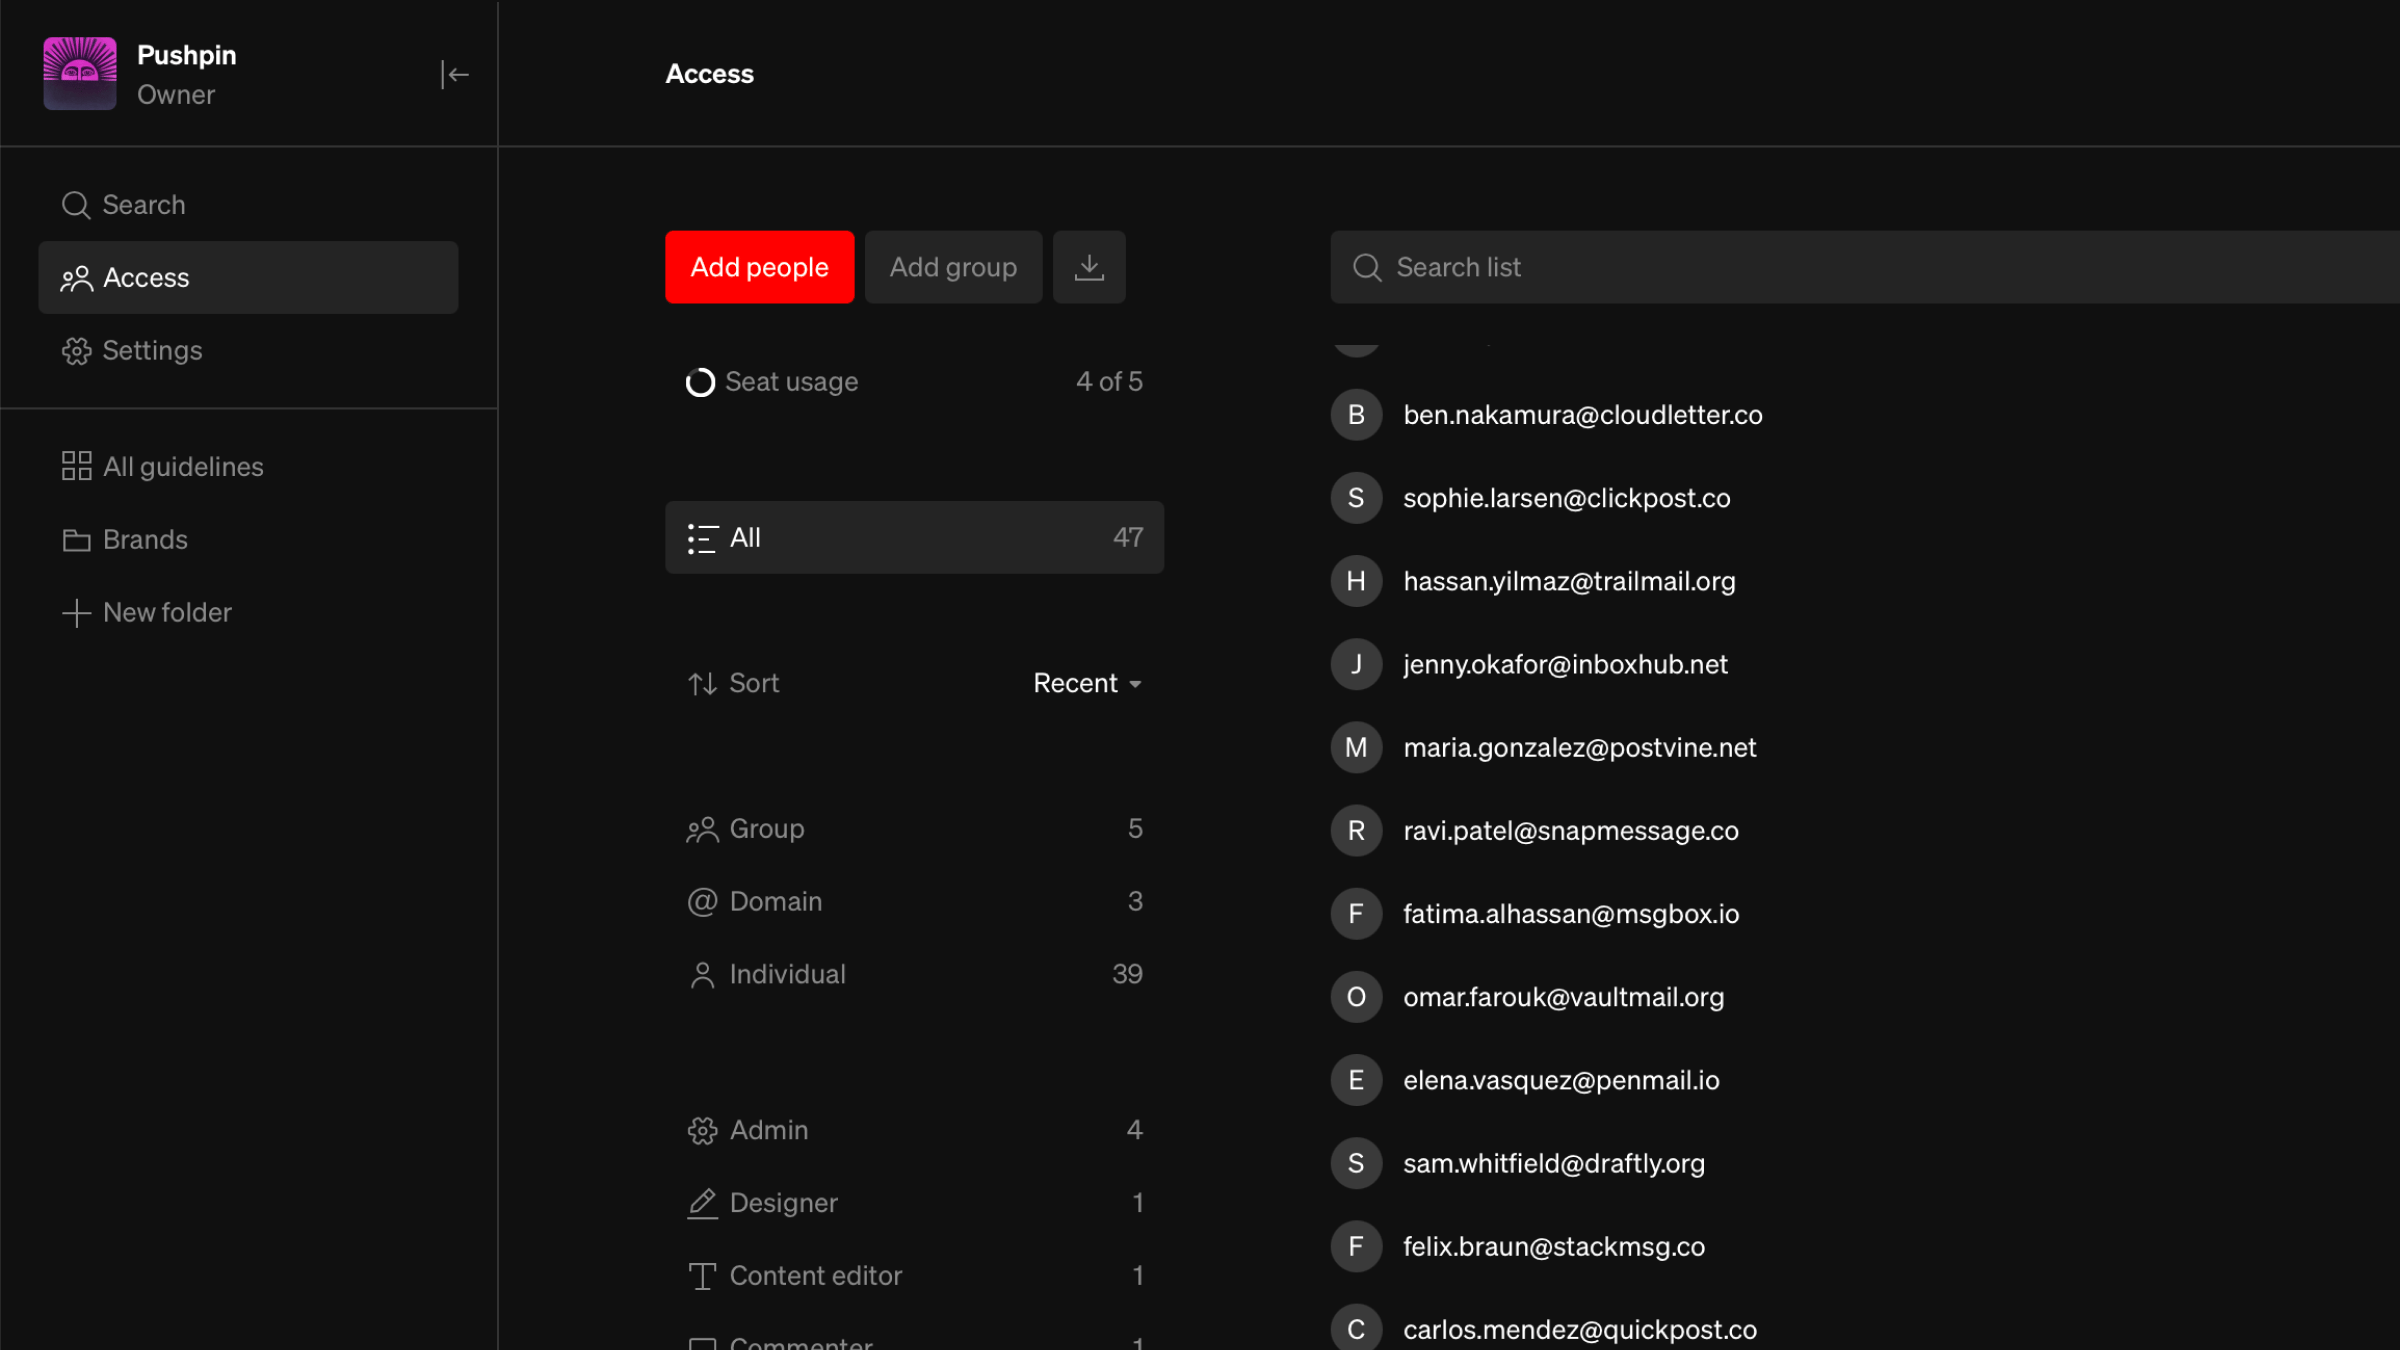
The Access page
Select Access at the top of the dashboard sidebar to open it. Any member with a workspace role can view the Access page, but only Owners and Admins can add, edit, and remove members. The page lists every member of the workspace. There are three types of members:- Individuals: A single person, identified by their email address.
- Domains Enterprise Everyone with an email address at a domain, such as @acme.com.
- Groups Enterprise A named collection of individuals and domains, such as “Marketing” or “Agency partners”.
Filter and sort
Use the left column to narrow the list. Each filter shows how many members it contains.- All: Every member of the workspace.
- Sort: Order the list
New to oldorOld to new. - Group, Domain, and Individual Enterprise Show only one type of member.
- Admin, Designer, Content editor, Commenter, and Viewer: Show only people with that role. The Admin filter also includes the workspace owner. Viewer is available on Enterprise plans.
Search
Use the search field above the list to find a member by name, email, or domain.Select multiple members
Hold command (Mac) or ctrl (Windows) and click members to select several at once, or hover over a member and select its checkbox. UseSelect all to select every member in the current filter.
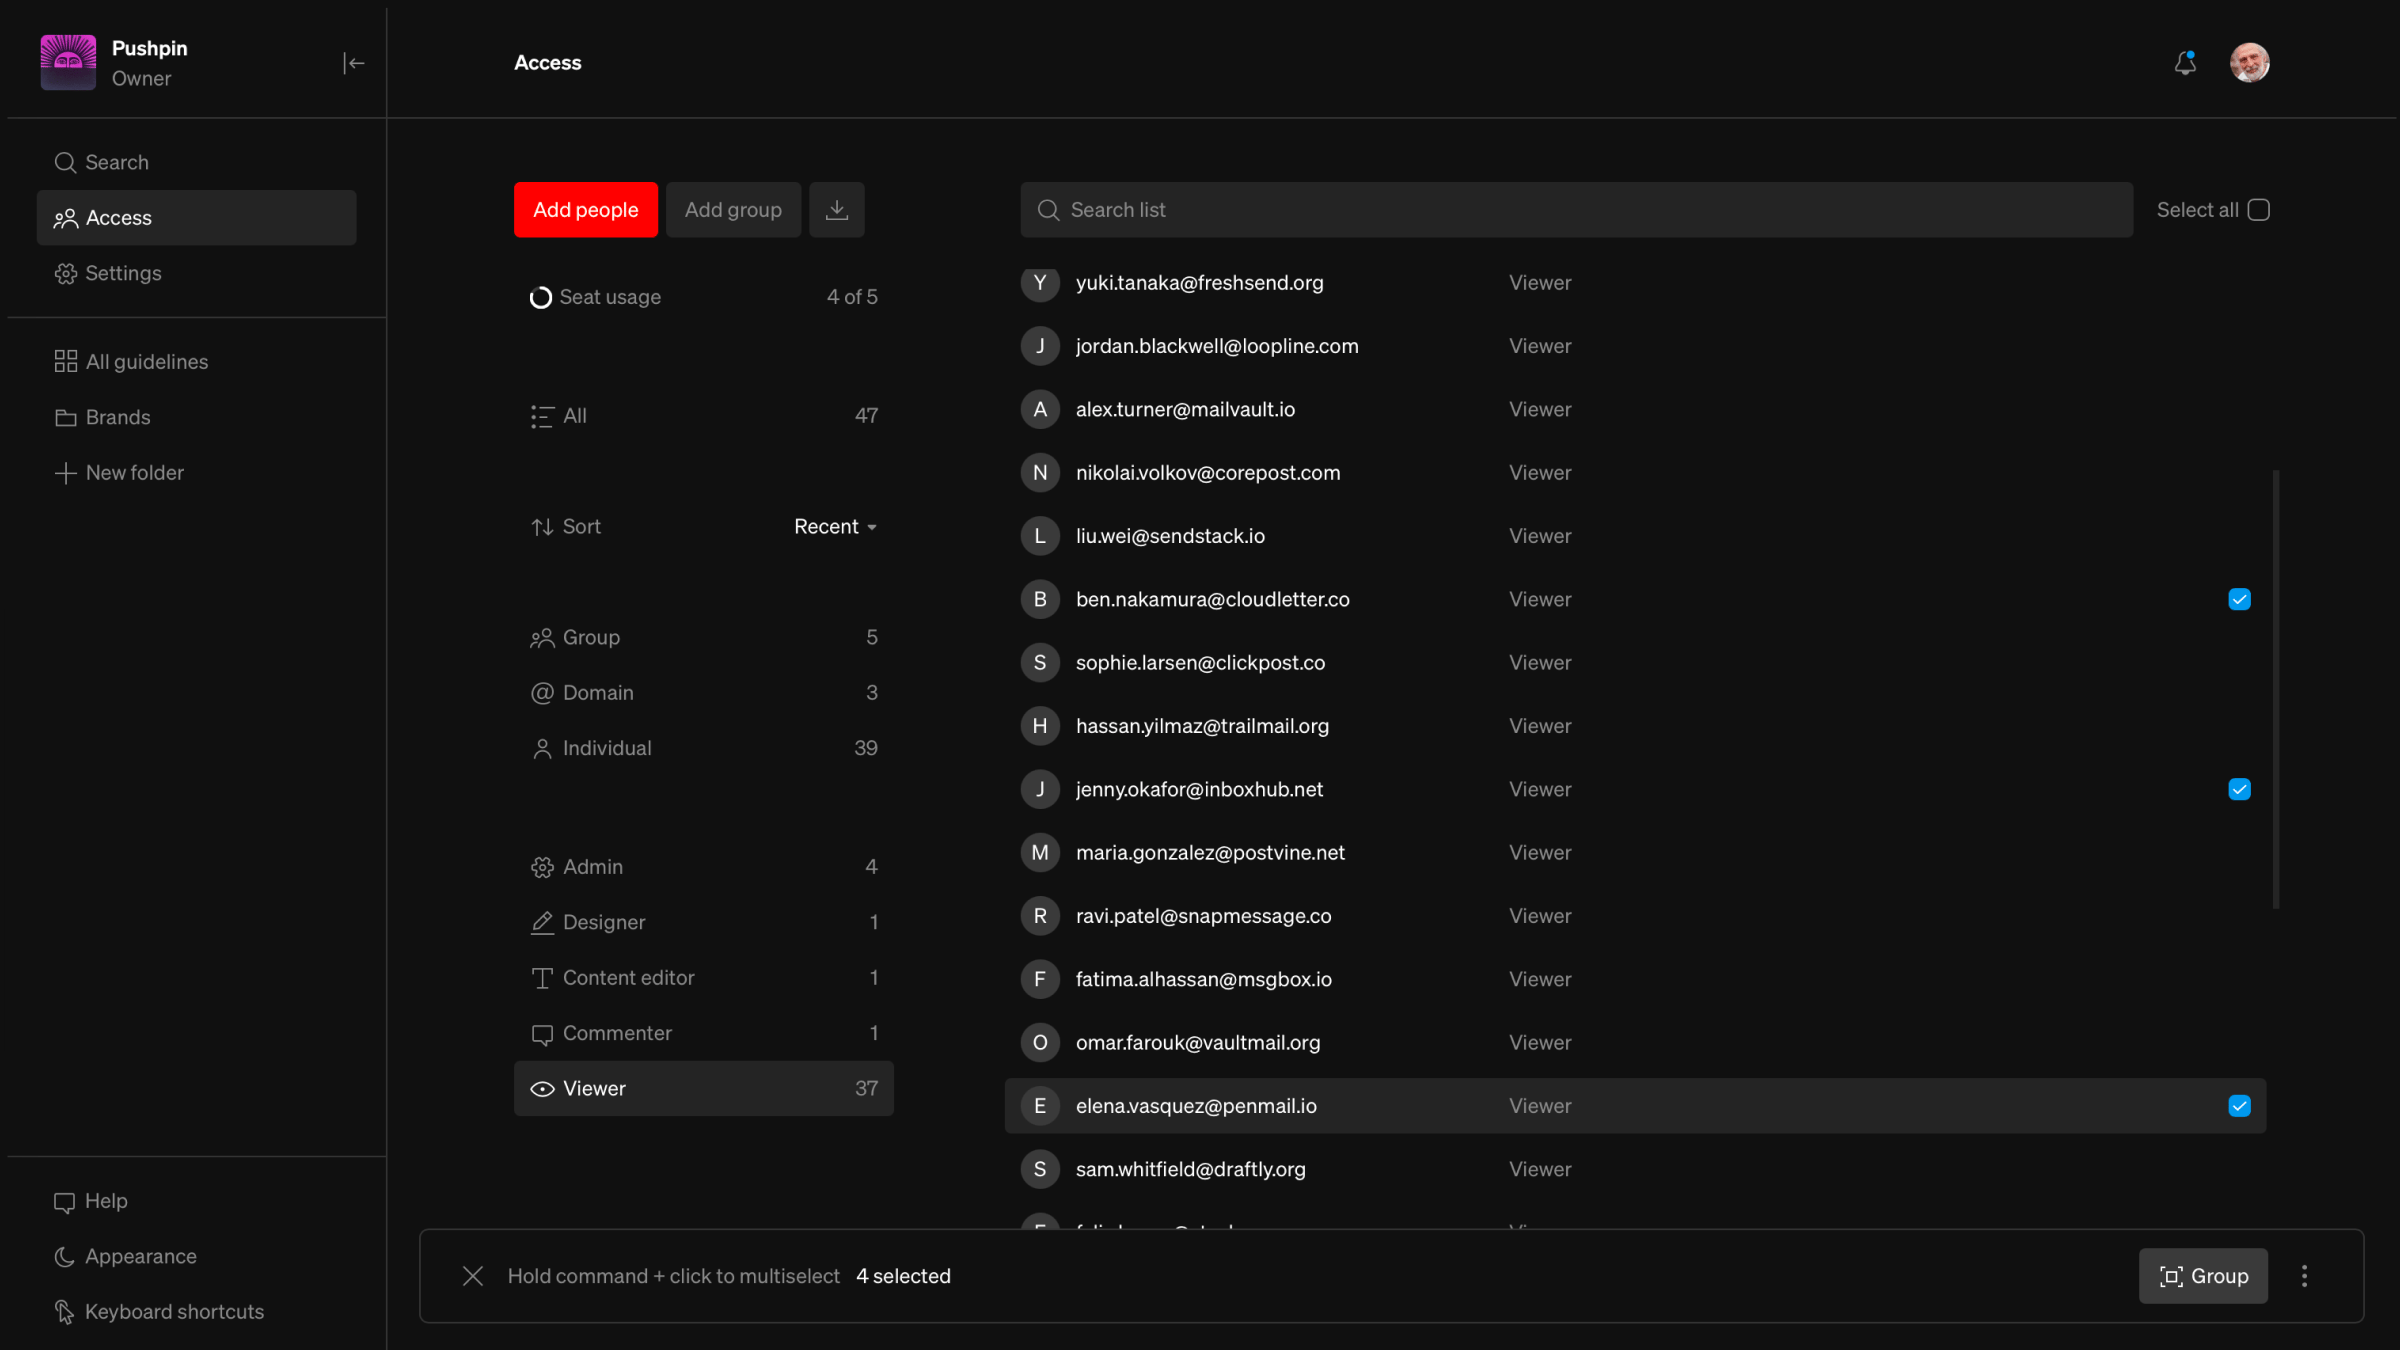
GroupEnterprise :Add the selected individuals and domains to one or more groups, or create aNew group. Unavailable when only groups are selected, since groups can’t contain other groups.Cancel:Clear the selectionDelete(trash icon): Remove the selected members from the workspace
Add people
1
Open Access
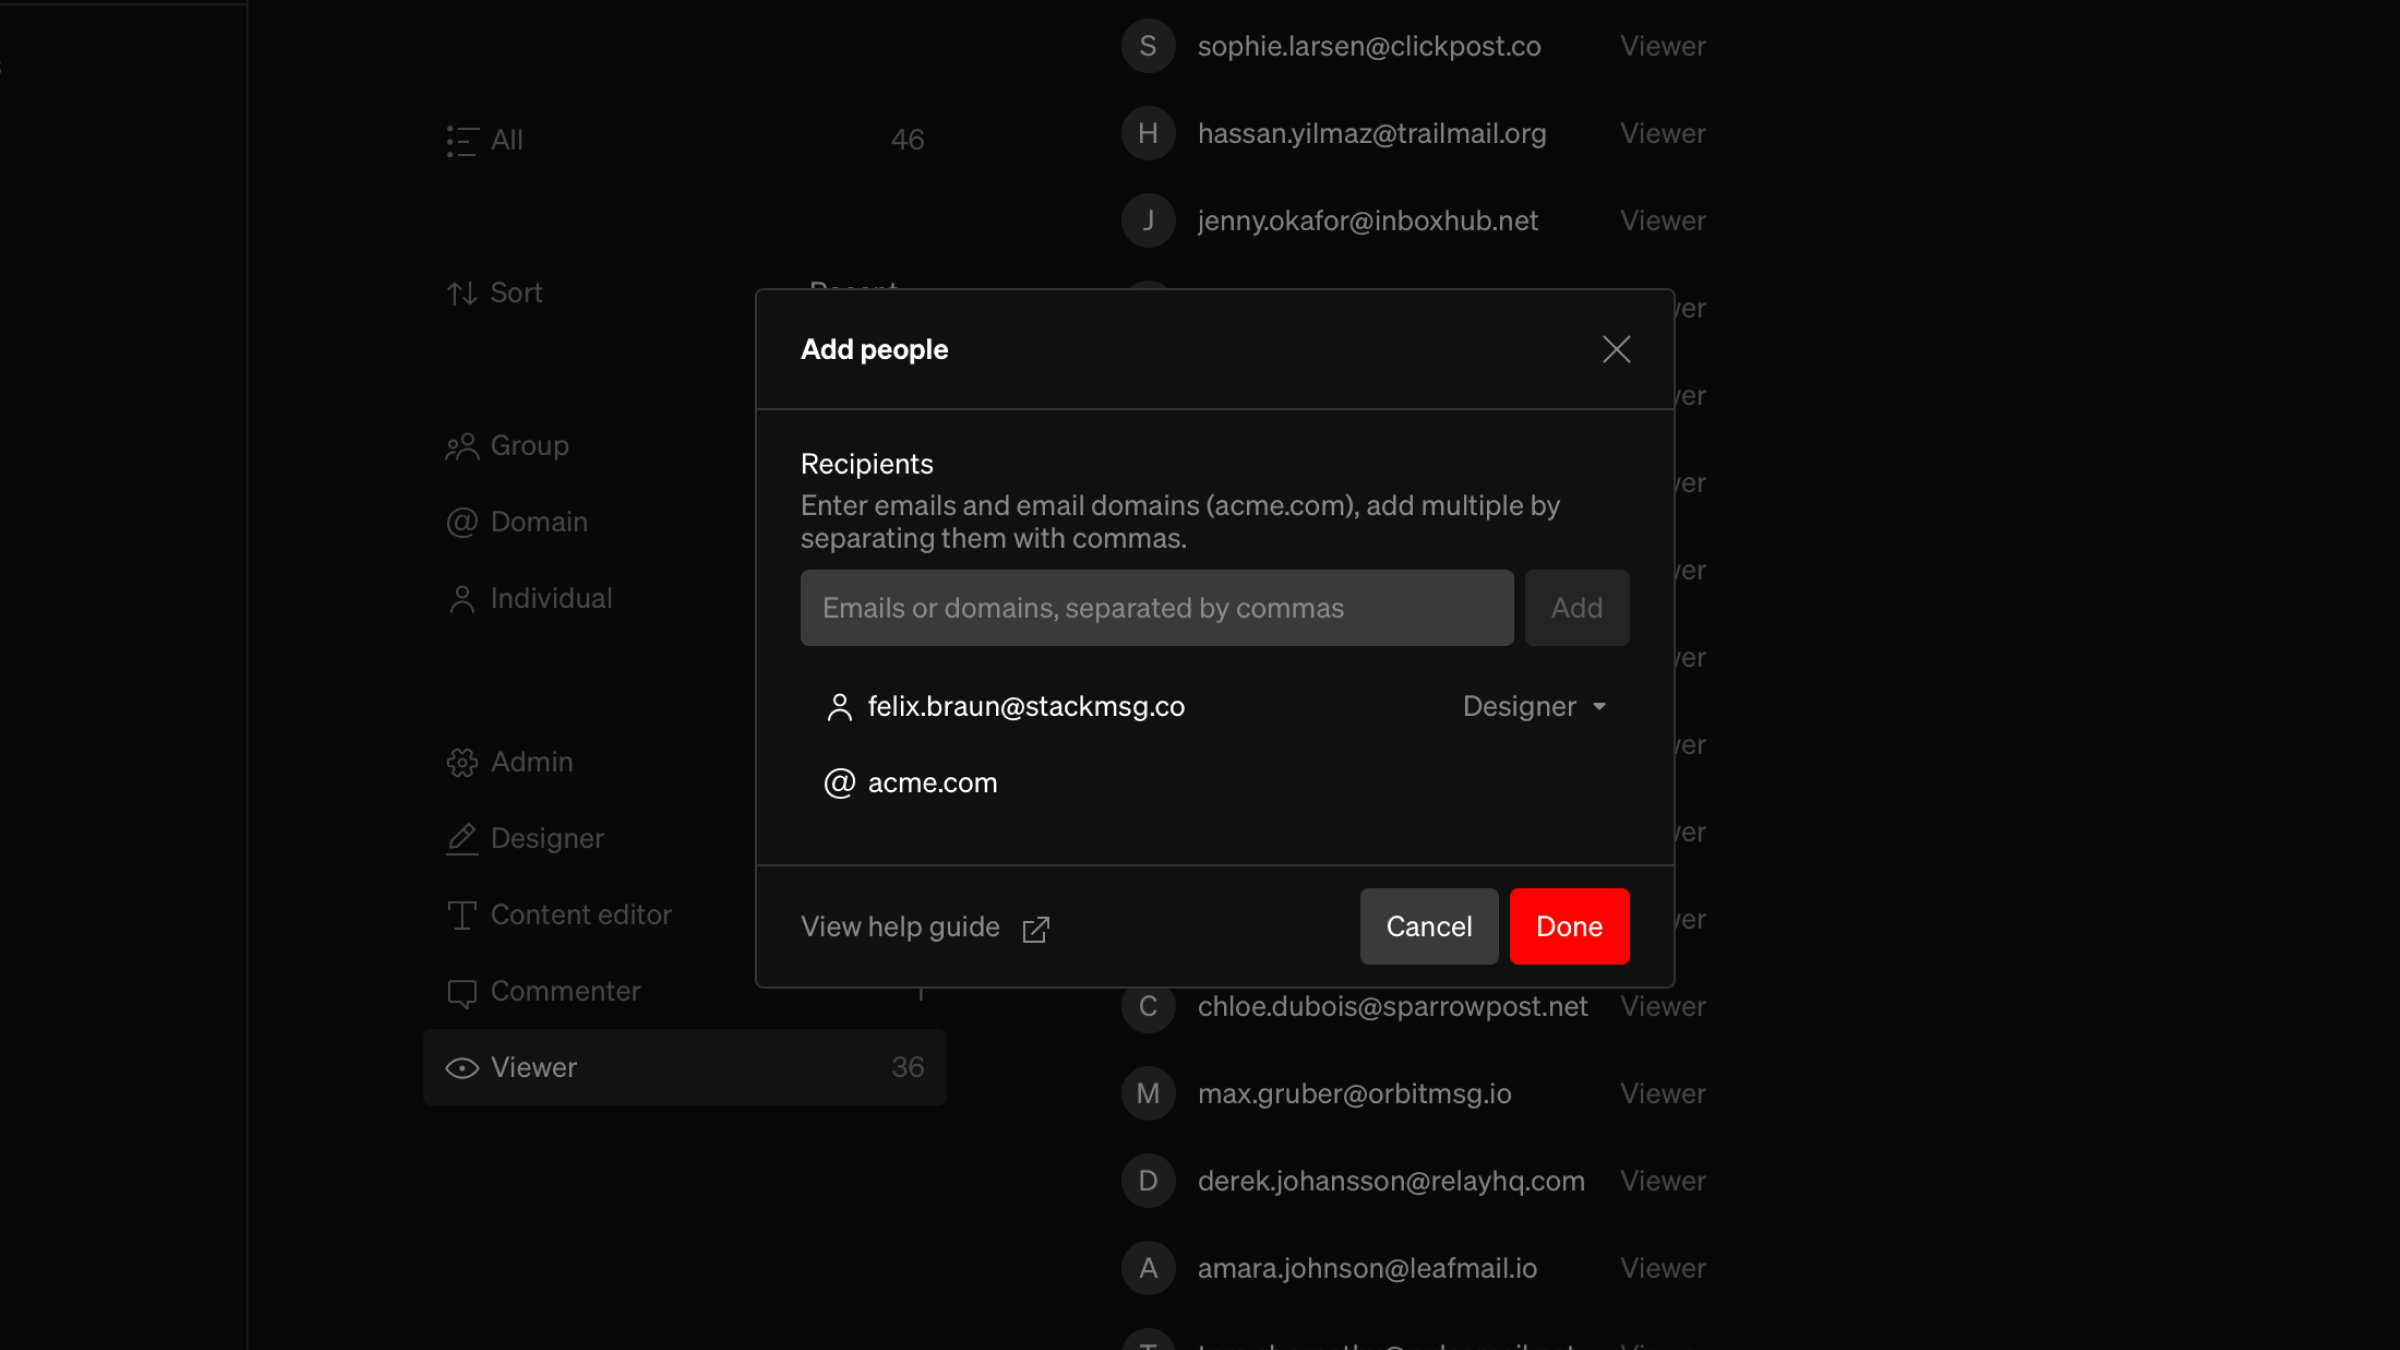
From the dashboard sidebar, select Access
2
Add people
Select
Add people, then enter one or more email addresses or email domains (such as acme.com), separated by commas. Select Add to add them to the recipients list.3
Grant a workspace role
Hover over a person in the recipients list and select
Grant workspace role to choose their role. People you want to edit or manage guidelines need a role.4
Confirm
Select
DoneWhat to expect
- People given a workspace role receive an email invite to join the workspace. They appear on the Access page right away.
- People added without a role are not invited to edit. They can still be allowed to view sign-in required guidelines. Learn more about Allowed viewers.
- Domains can’t be given a workspace role. They are used to allow everyone at a company to view sign-in required guidelines.
- If someone is already in the workspace, they’re flagged and left out of the recipients list.
Import people
Add many people at once by uploading a.csv file.
1
Open import
From the Access page, select the import icon beside
Add people2
Choose a file
Drag and drop or select a
.csv file. Standards finds every email address and email domain in the file and shows how many it found. Headers, names, and other columns are ignored, so exports from spreadsheets and mail clients work as they are.3
Optional: Add to a group
Under Group membership, choose a group to add the imported people to.
4
Confirm
Select
ImportImported people are added without a workspace role. Open a person to give them a role, or add them to a group that has one.
Groups
Enterprise Groups make it easy to manage access for many people at once. Give a group a workspace role and every member of the group receives it. Allow a group to view a guideline and every member can view it.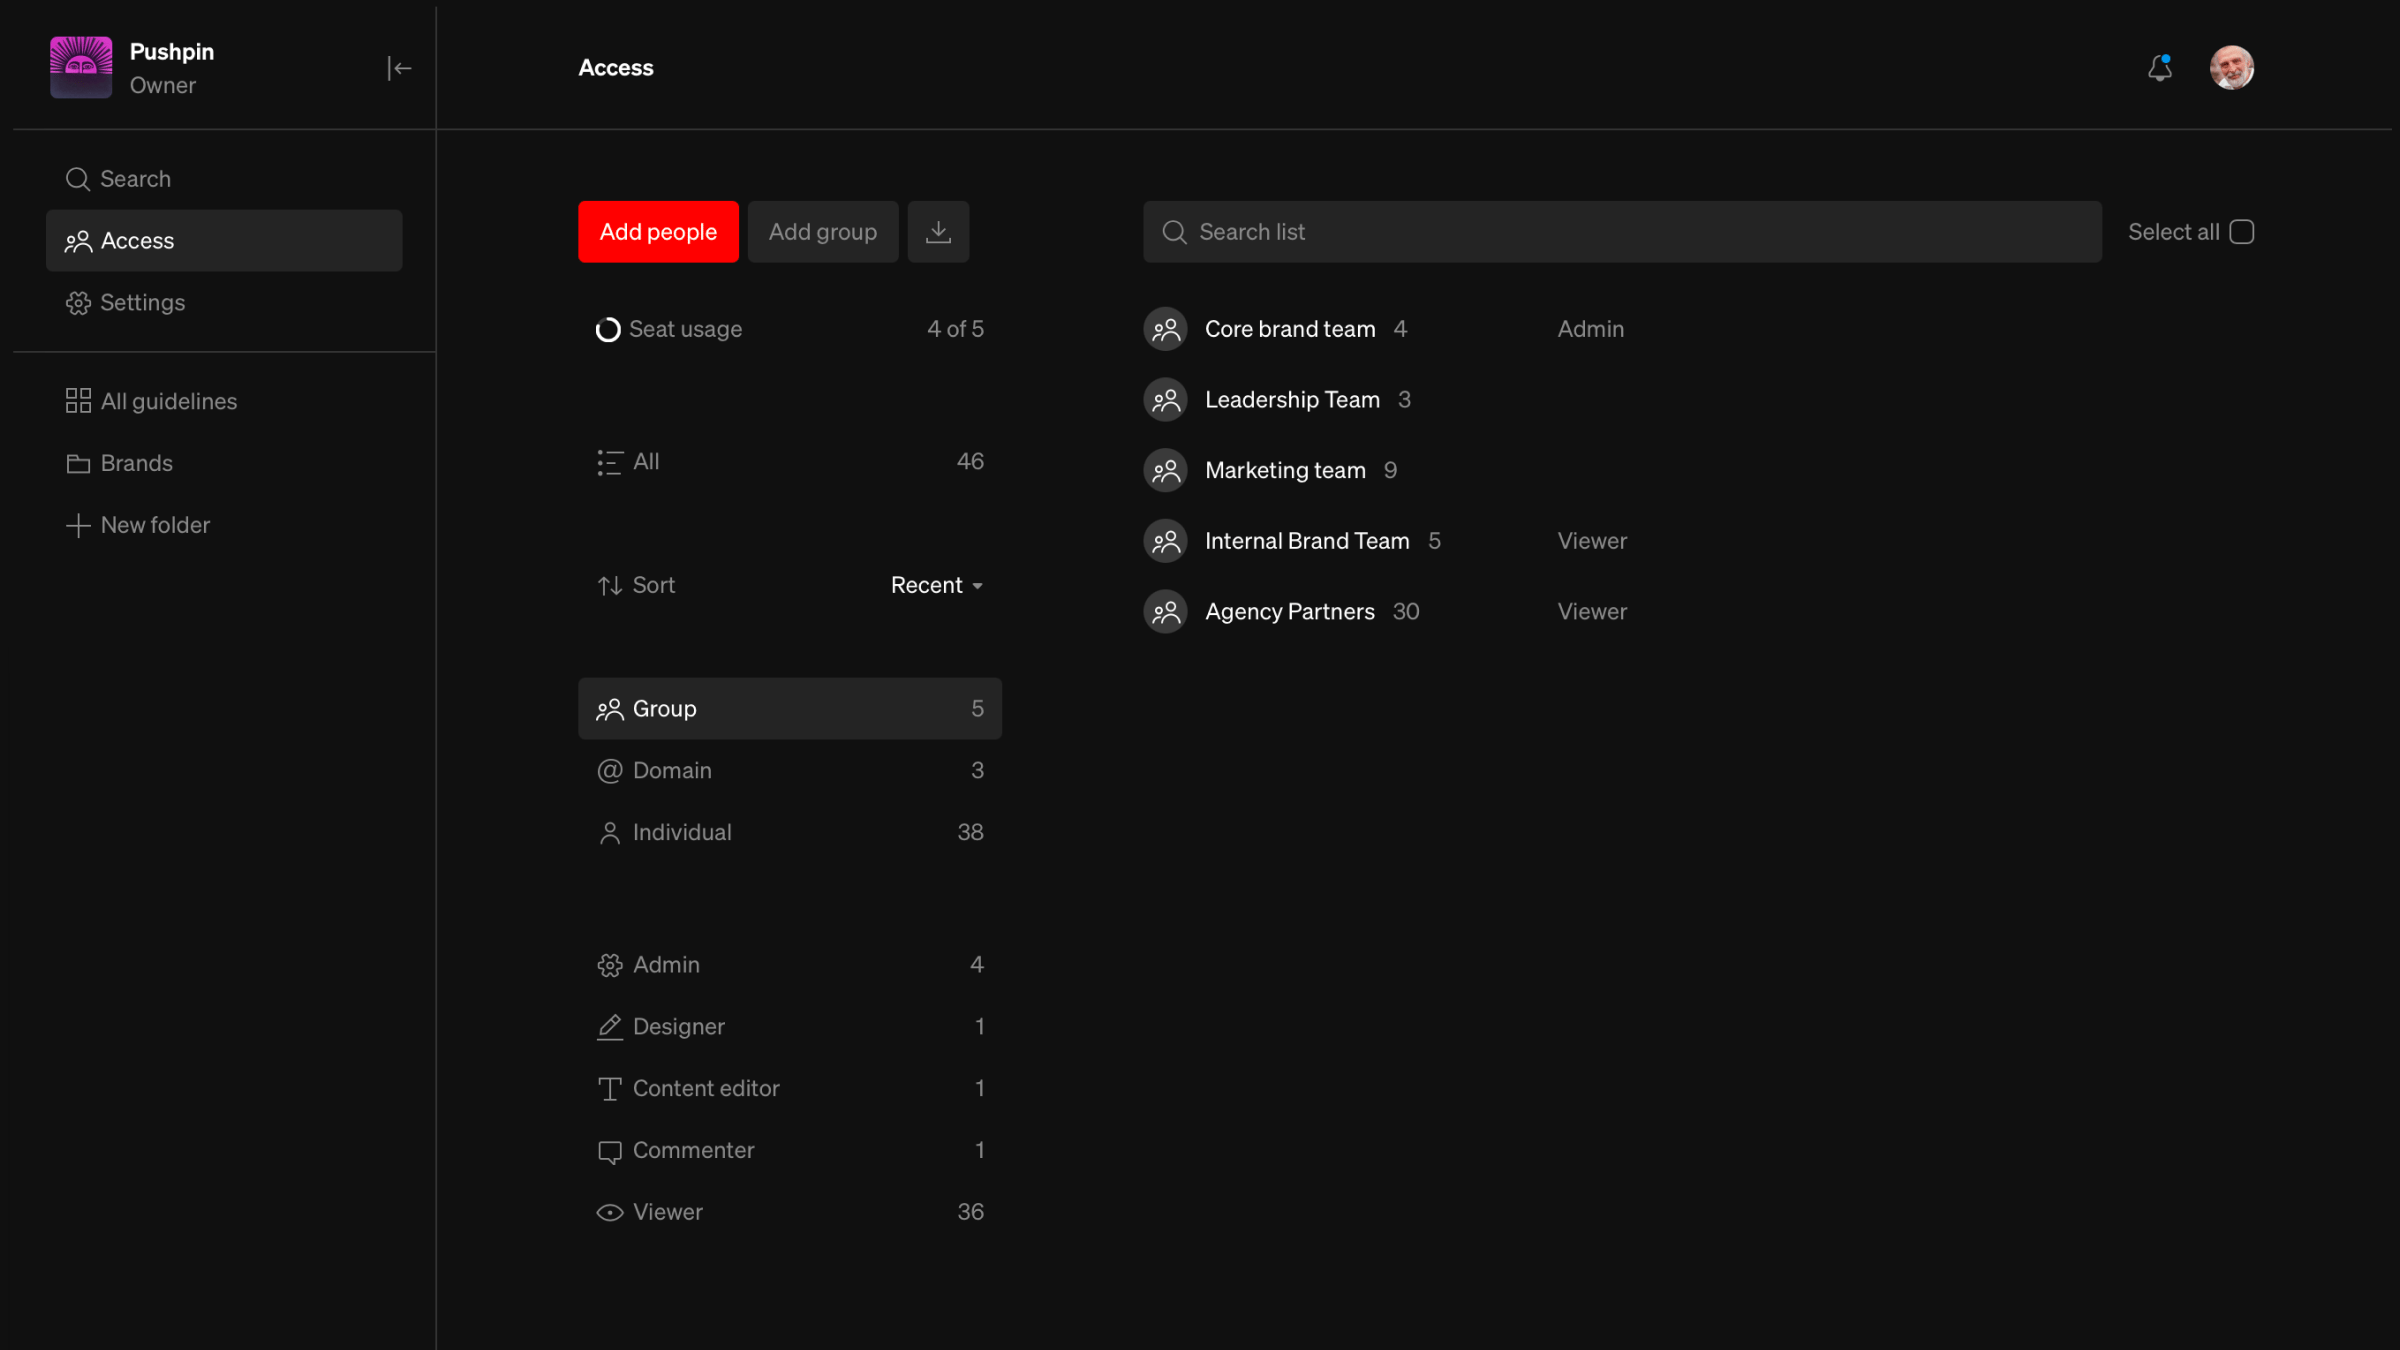
Create a group
1
Add group
From the Access page, select
Add group2
Name the group
Enter a name for the group
3
Optional: Choose a role
Choose a workspace role for the group. The role applies to every member of the group.
4
Add members
Select the Members tab, then search for existing members or type in new email addresses and domains
5
Save
Select
SaveGroup from the action bar to add them to a new or existing group.
Keep in mind
- Groups can contain individuals and domains, but not other groups.
- Groups that contain a domain can’t be given a workspace role.
- A person keeps the strongest role they have. If someone is a Commenter but belongs to a Designer group, they have Designer access, and roles weaker than the group’s role are unavailable for them.
- Deleting a group removes the access its members inherited from it.
Member details
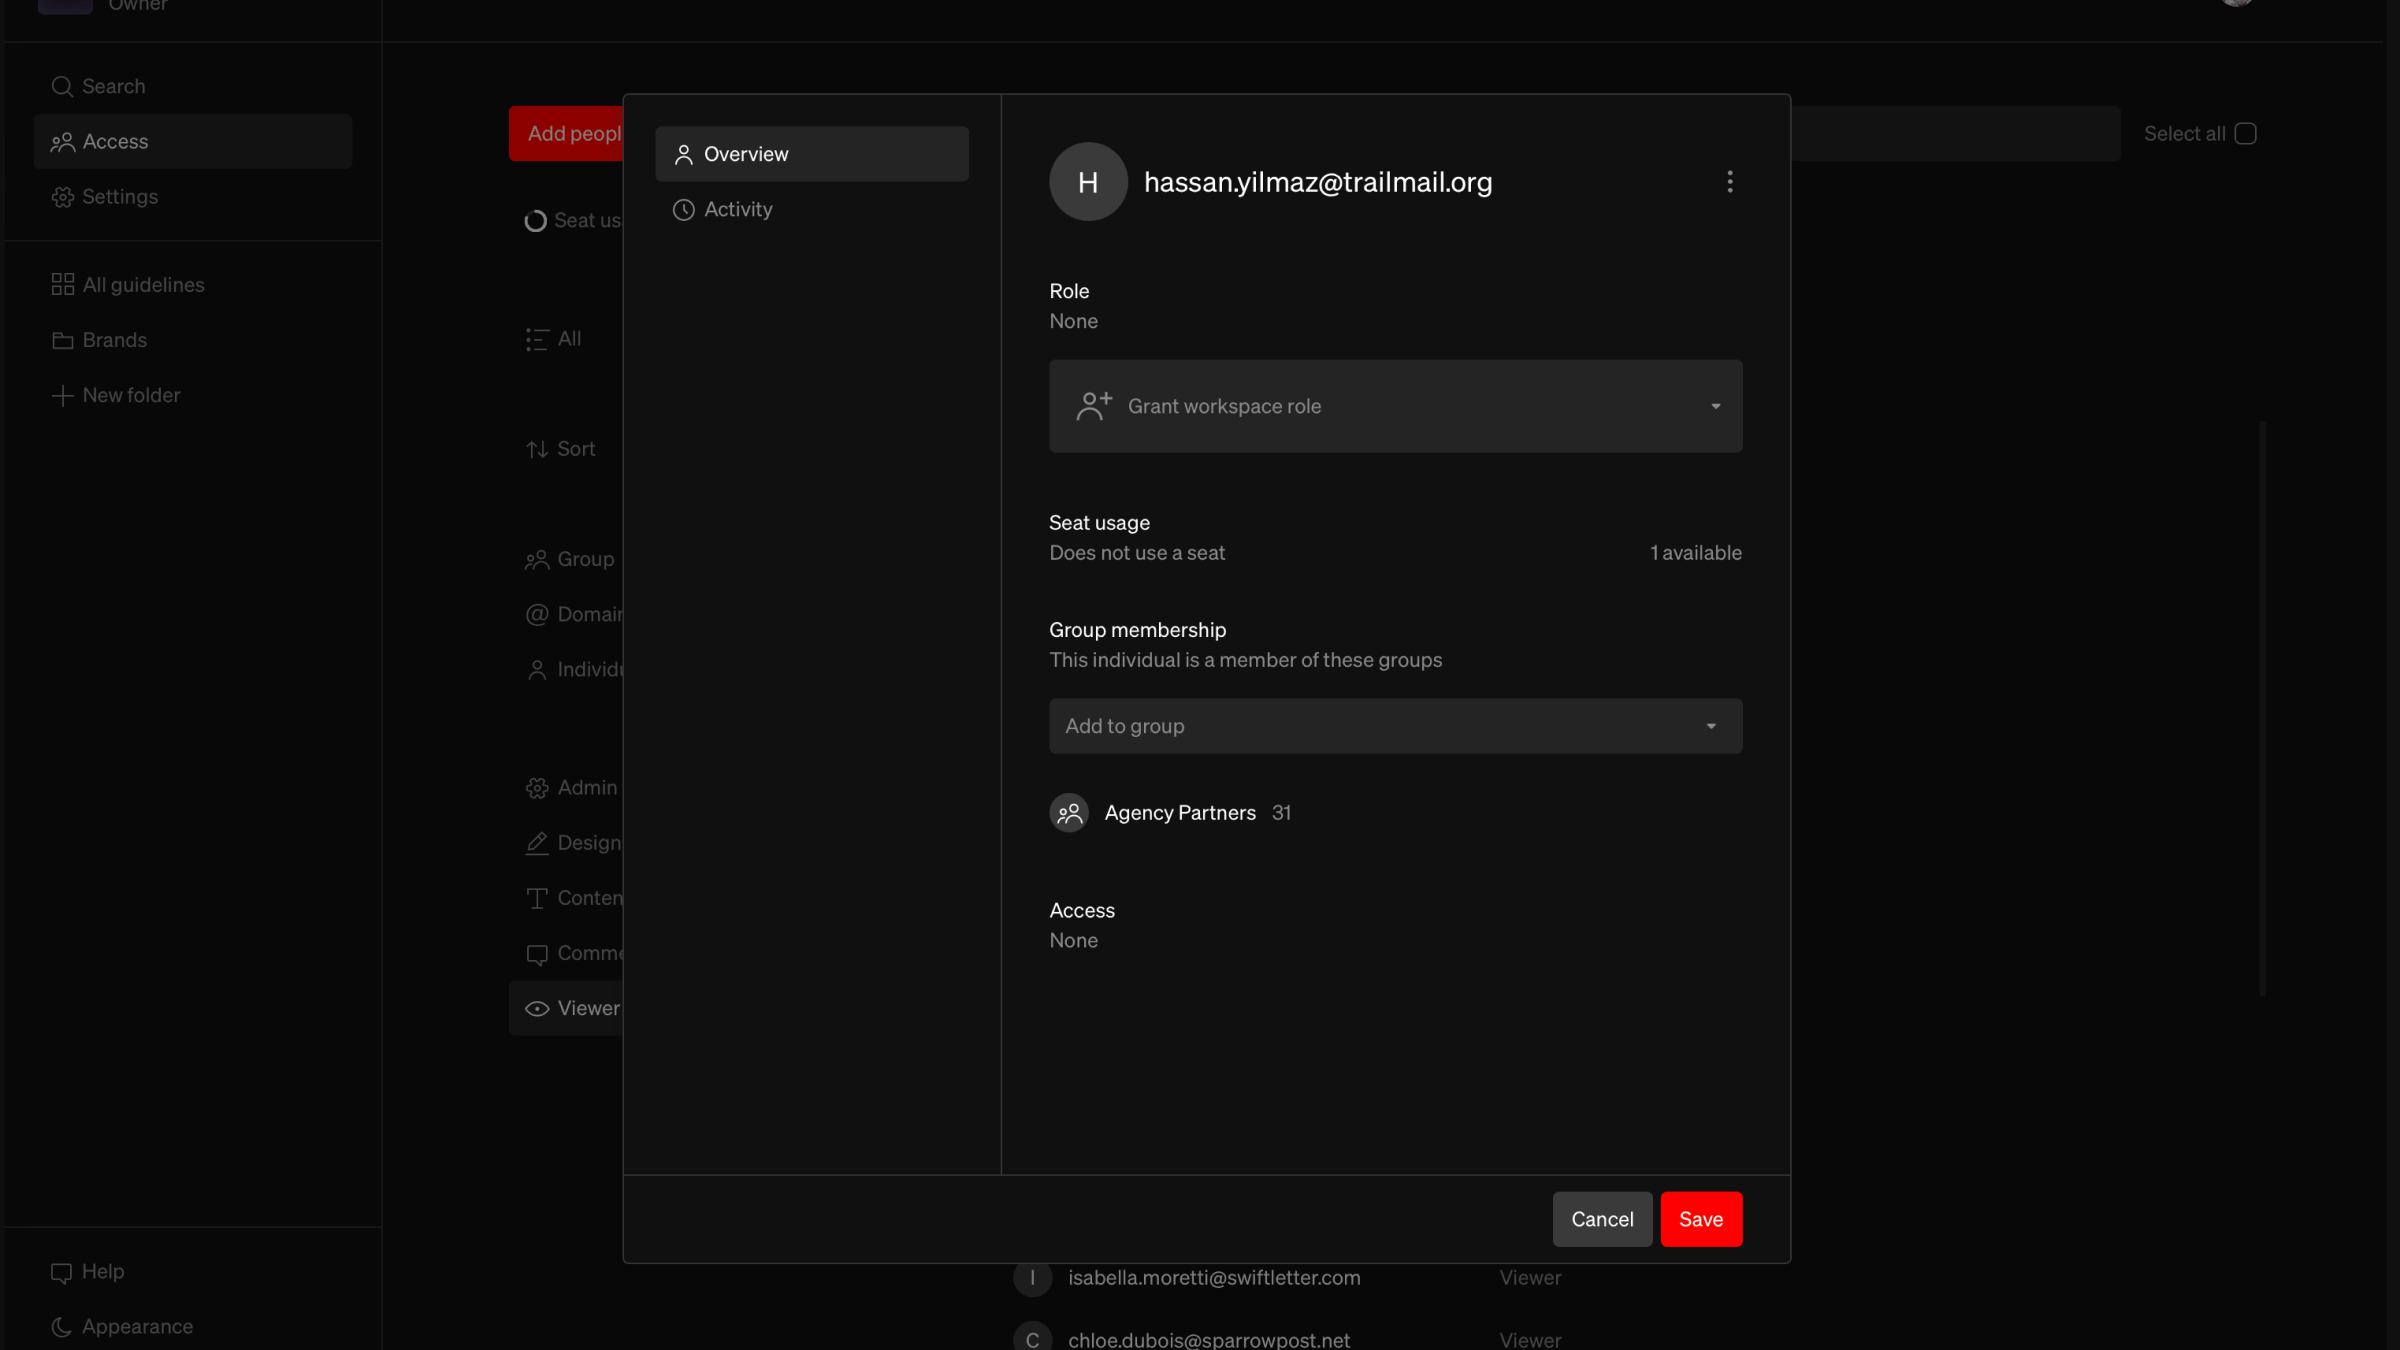
- Role: The member’s workspace role. Choose
Noneto remove their role while keeping them in the workspace. - Group membership Enterprise The groups this person belongs to. Add or remove groups from here.
- Access: A summary of what the member can do, including whether their access is inherited through a group.
Save to apply your changes.
Activity
Select Activity in an individual’s or domain’s details to see which guidelines they’ve viewed and when. For a domain, each view shows the email address of the person who viewed it.- Choose a guideline from the dropdown to see views of a single guideline, or
Allto see every view - Sort the list
New to oldorOld to new - Select the export icon to download the activity as a
.csvfile with the date, time, guideline, email, and activity of each view
Remove a member
1
Open the member
From the Access page, select the member
2
Delete
Select the 3-dot icon beside their name, then select
Delete. To delete a group, select it on the Access page and select the trash icon in the action bar.3
Confirm
Confirm the removal. Removing an individual removes their access to the workspace. Removing a group or domain removes the access of everyone who had it through that group or domain.
Delete from the action bar.
Members from your identity provider
Members and groups created by your organization’s identity provider using SCIM show a label with the provider’s name. They are managed by the identity provider, so they can’t be deleted from Standards, and identity provider groups can’t be chosen when adding people to groups in Standards. Change their details and group membership in your identity provider instead. You can still give identity provider members and groups a workspace role, and allow them to view guidelines.Roles
There are five workspace roles that affect permissions: Owner, Admin, Designer, Content editor and Commenter. Members without a role have no access to the workspace, but can be allowed to view guidelines.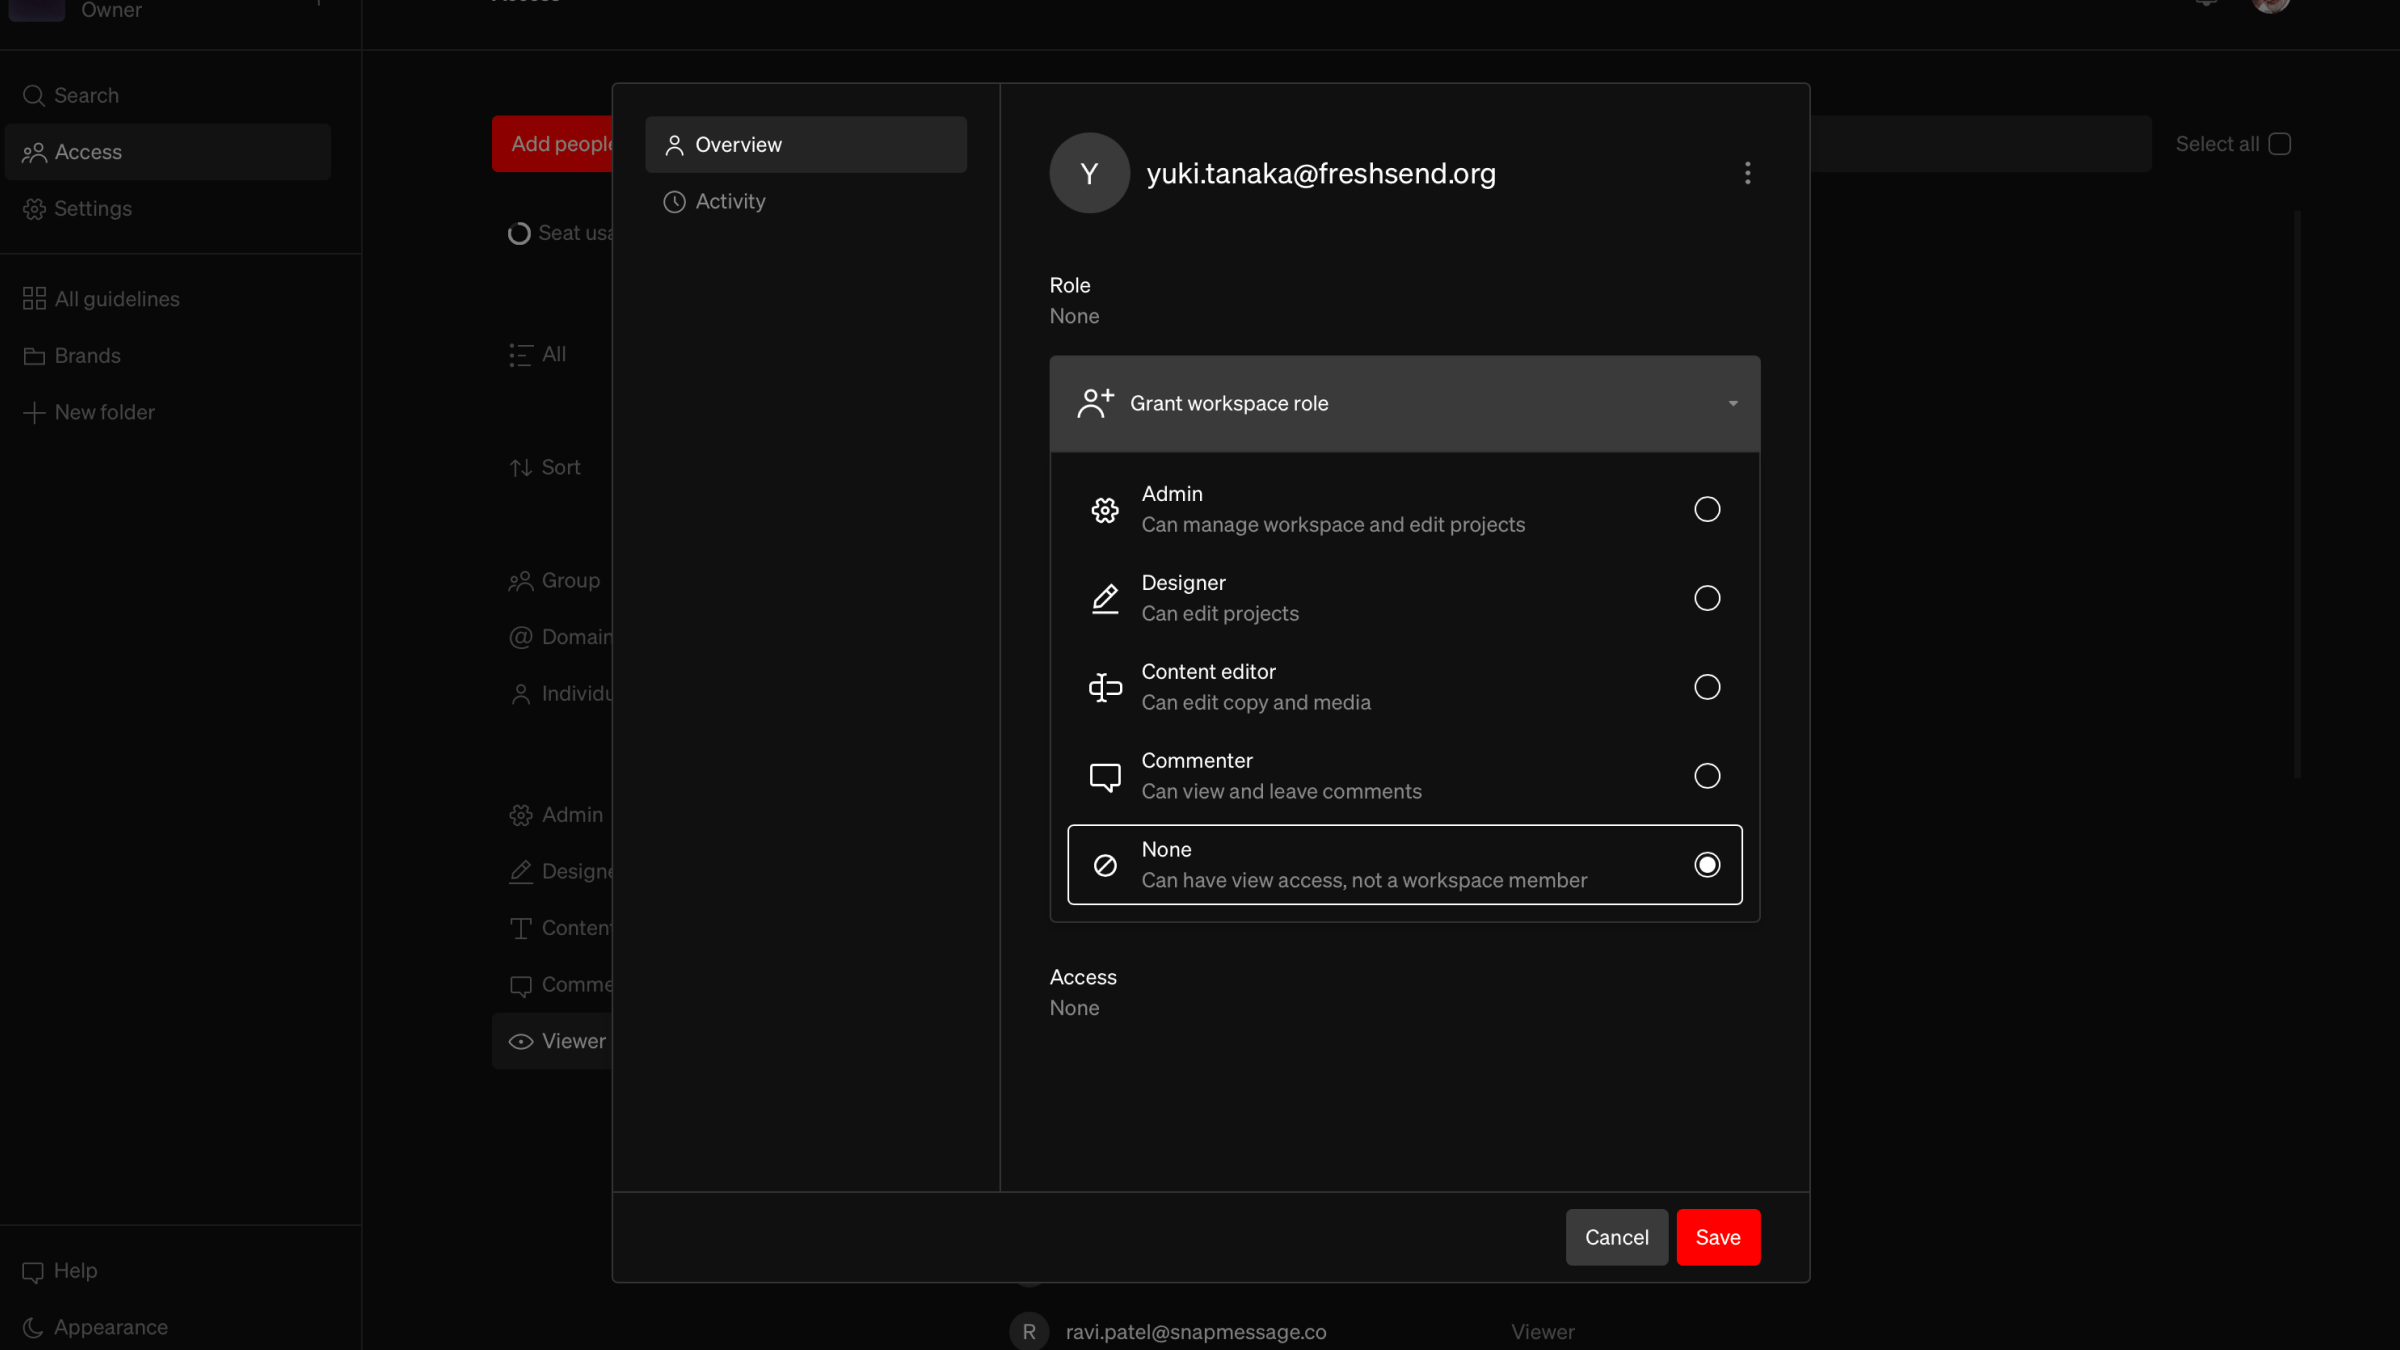
Owner
An Owner is the account that created the workspace and is responsible for billing. Owners have access to all areas of their workspace. There can only be one workspace Owner. To transfer workspace ownership, contact [email protected].Admin
Admins can manage the workspace and create, edit, and publish all guidelines in it. They have the same permissions as the Owner, minus the ability to delete the workspace.Designer
Designers can create, edit, and publish all guidelines in the workspace, but can’t manage workspace access or settings. The intent of this role is for members that will be designing and building guidelines.Content Editor
Content Editors can edit copy and media in all guidelines in the workspace, using the content and comment modes of the editor. The intent of this role is for members that only need to edit copy, swap imagery, and add comments.Commenter
Commenters can view and comment on all guidelines in the workspace, using the comment mode of the editor. The intent of this role is for members that only need to add and review comments.None
Members with no role are not part of the workspace team. They can be allowed to view sign-in required guidelines, and are listed under the Viewer filter. Learn more about Allowed viewers.Role comparison
Change a member’s role
Owners and Admins can change the role of workspace members. Tip: When inviting a client to a workspace, we suggest creating a new one or having them create one and invite you to it.1
Open Access
From the dashboard sidebar, select Access
2
Open the member
Select the member whose role you want to change
3
Choose role
Select the role dropdown and choose the new role, then select
SaveFAQ
What's the difference between workspace members and guideline viewers?
What's the difference between workspace members and guideline viewers?
Members with a workspace role can create, edit, and publish guidelines. Typically these are members of a design team. Viewers are people allowed to see a published guideline on the web. They don’t need a workspace role, and can be added as individuals, domains, or groups. Learn more about Allowed viewers.
Can I add a client or outside partner to my workspace?
Can I add a client or outside partner to my workspace?
Yes, anyone can be added to workspaces. Keep in mind all members with a workspace role can browse, manage, see comments, and enter the editor of all guidelines within the workspace. We suggest creating a new workspace to invite clients and outside partners to.
Can viewers leave comments?
Can viewers leave comments?
No. Comments are added within a guideline’s editor, not from the live website URL. The Commenter role can only leave and review comments, and is ideal for collaborators when working as a team.
Where did the Members page go?
Where did the Members page go?
The Members page is now the Access page. Links to the old page open the Access page.