> ## Documentation Index
> Fetch the complete documentation index at: https://help.standards.site/llms.txt
> Use this file to discover all available pages before exploring further.
# Color
Colors are fundamental to your brand’s visual identity. Styles are a way to save color properties and reuse them in a project, making color choices consistent.
 ***
## Color styles
Color styles are consistent colors that can be used throughout your project and updated all at once from a single interface. Quickly access color styles from the **Fill** properties in the right sidebar settings. Add as many colors to your **Styles** as your brand needs. Manually enter color specifications **(RGB, CMYK, PMS, RAL)** in the property panel for exact matches.
***
## Color styles
Color styles are consistent colors that can be used throughout your project and updated all at once from a single interface. Quickly access color styles from the **Fill** properties in the right sidebar settings. Add as many colors to your **Styles** as your brand needs. Manually enter color specifications **(RGB, CMYK, PMS, RAL)** in the property panel for exact matches.
 ### Add a new color style
1. In the **Styles** section of the right side bar, select the `+` next to **Color** to add a new color
2. Alternatively, styles can be added from the custom color picker when filling an element with a custom color.
### Edit a color style
Within the design editor, select the edit icon (pencil) beside the color listed in the **Styles** tab of the right sidebar
Edit the name, color values, etc. These changes will be reflected automatically wherever the color style is used. This includes color swatches and specs.
### Keep in mind
* To ensure accuracy, PMS values must be manually entered into color styles.
* Double check automatically converted CMYK values. Sometimes they can deviate from what is shown on-screen and should be tested if used for printing.
* Deleting a color style will affect all instances where it was used, and they will be replaced with the hex value.
***
## Color Automations
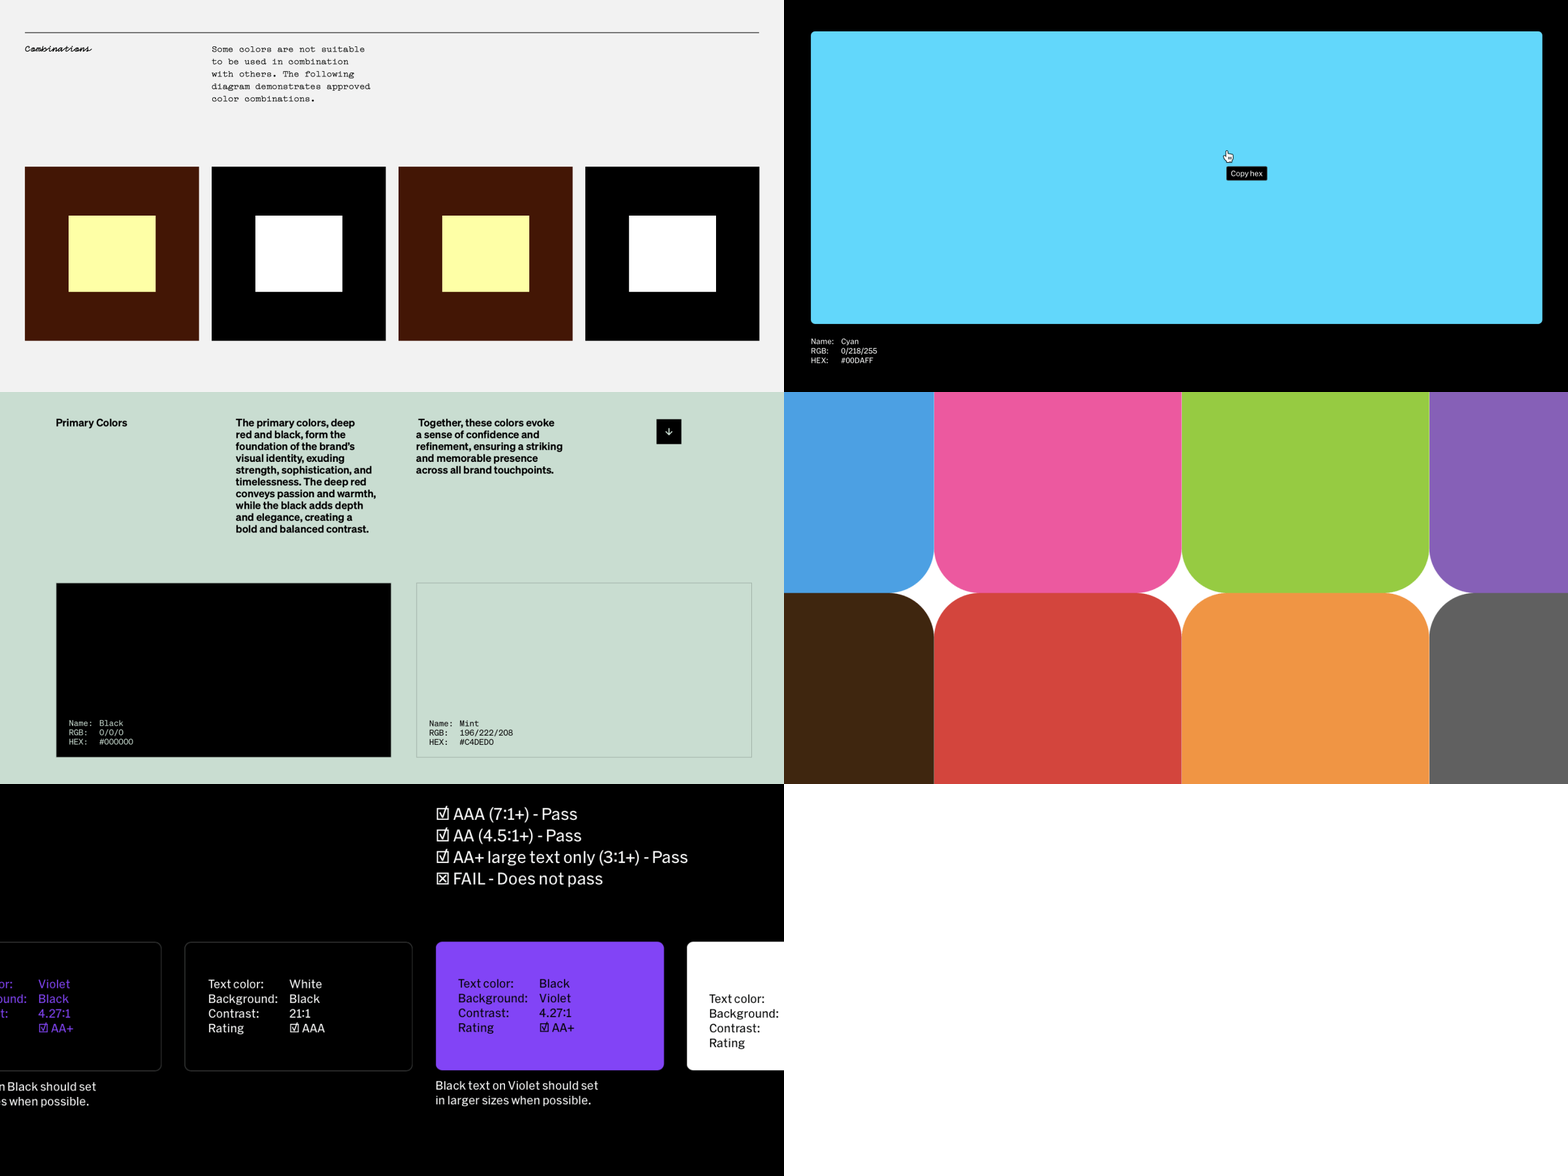
Styles allow Automations to output the chosen colors in various pre-designed modules, retaining consistency. They include:
* **Palette**
* **Proportion**
* **Albers’ proportion**
* **Combinations**
* **Contrast**
### Add a color Automation
Within the editor, select the `+` dropdown menu, then select the Automation A item from the list.
Select a point in the project body by selecting between layoutsSelect area to add to
Choose the Automation from the pop-up window
Many Automations have multiple steps to choose preferences
### Edit placeholder
This applies to **Color** Contrast and **Color Don’ts** Automations.
After placing the Automation in the project, double-click the placeholder background.
Select on **Add media** within the **Fill** section of the right sidebar settings.
Choose a file from the file list or upload a new one
**What is an Albers’ proportion?** Josef Albers was an iconic artist who pioneered major shifts in geometric abstraction, constructivism and more. An Albers’ proportion is a tool of nested squares that is based on his work “Homage to the Square” that shows scaling of color in various proportions.
***
## Color swatches
Visually display colors in your brand's palettes utlizing color swatches. Show their specs and add special behaviors like click to copy HEX, enabling teammates to quickly access the colors they need.
### Add a new color style
1. In the **Styles** section of the right side bar, select the `+` next to **Color** to add a new color
2. Alternatively, styles can be added from the custom color picker when filling an element with a custom color.
### Edit a color style
Within the design editor, select the edit icon (pencil) beside the color listed in the **Styles** tab of the right sidebar
Edit the name, color values, etc. These changes will be reflected automatically wherever the color style is used. This includes color swatches and specs.
### Keep in mind
* To ensure accuracy, PMS values must be manually entered into color styles.
* Double check automatically converted CMYK values. Sometimes they can deviate from what is shown on-screen and should be tested if used for printing.
* Deleting a color style will affect all instances where it was used, and they will be replaced with the hex value.
***
## Color Automations
Styles allow Automations to output the chosen colors in various pre-designed modules, retaining consistency. They include:
* **Palette**
* **Proportion**
* **Albers’ proportion**
* **Combinations**
* **Contrast**
### Add a color Automation
Within the editor, select the `+` dropdown menu, then select the Automation A item from the list.
Select a point in the project body by selecting between layoutsSelect area to add to
Choose the Automation from the pop-up window
Many Automations have multiple steps to choose preferences
### Edit placeholder
This applies to **Color** Contrast and **Color Don’ts** Automations.
After placing the Automation in the project, double-click the placeholder background.
Select on **Add media** within the **Fill** section of the right sidebar settings.
Choose a file from the file list or upload a new one
**What is an Albers’ proportion?** Josef Albers was an iconic artist who pioneered major shifts in geometric abstraction, constructivism and more. An Albers’ proportion is a tool of nested squares that is based on his work “Homage to the Square” that shows scaling of color in various proportions.
***
## Color swatches
Visually display colors in your brand's palettes utlizing color swatches. Show their specs and add special behaviors like click to copy HEX, enabling teammates to quickly access the colors they need.
 ### Methods for adding color swatches
1. During project setup, add your color styles which will power the color section of the outline and automatically get added after setup is complete
2. Add the **Palette** color Automation
3. Add a color swatch brand element directly to a column from the `+` dropdown menu
### Color specs
All color swatches have color specs that can be shown or hidden. These specs can display the color specifications set on the color style.
* Toggle these on and off within **Content** settings group of the color spec.
* Enable custom specs by toggling the **Custom** option under the content settings, then input values by selecting the spec fields in body.
***
## Change default page background and text color
Set a project level background and text color that all pages and new text will be. These can be overriden by applying fill to elements on pages. Learn more about [project settings](/project-settings).
In the project editor, select the **gear icon** in the top-right corner to view project level settings.
In **Project settings**, select the background and text color items from the **Appearance** settings group.
***
## Change text color of some words in a text block
Text color can be changed in-line and either a saved Color style, or selecting a color from the Color picker.
Double click or click + drag to highlight text in body
Select the color icon from the contextual toolbar to open the color picker and list of color styles
***
## FAQ
Color names are automatically created based generally on the HEX value. Sometimes this can be off if it's a unique color. It's best practice to rename colors in this instance by editing the color style.
Automatic color values for CMYK are generated based on the HEX value, which can deviate from the expected color mix. It's best practice to override the automatic specs if they are incorrect. Test prints are the best way to dial in the perfect CMYK values for a color.
While editing a color style, select the **Auto** toggle under the specs settings group. This will unlock the fields allowing them to be overridden.
No color specs are required, just a HEX value for the color itself.
### Methods for adding color swatches
1. During project setup, add your color styles which will power the color section of the outline and automatically get added after setup is complete
2. Add the **Palette** color Automation
3. Add a color swatch brand element directly to a column from the `+` dropdown menu
### Color specs
All color swatches have color specs that can be shown or hidden. These specs can display the color specifications set on the color style.
* Toggle these on and off within **Content** settings group of the color spec.
* Enable custom specs by toggling the **Custom** option under the content settings, then input values by selecting the spec fields in body.
***
## Change default page background and text color
Set a project level background and text color that all pages and new text will be. These can be overriden by applying fill to elements on pages. Learn more about [project settings](/project-settings).
In the project editor, select the **gear icon** in the top-right corner to view project level settings.
In **Project settings**, select the background and text color items from the **Appearance** settings group.
***
## Change text color of some words in a text block
Text color can be changed in-line and either a saved Color style, or selecting a color from the Color picker.
Double click or click + drag to highlight text in body
Select the color icon from the contextual toolbar to open the color picker and list of color styles
***
## FAQ
Color names are automatically created based generally on the HEX value. Sometimes this can be off if it's a unique color. It's best practice to rename colors in this instance by editing the color style.
Automatic color values for CMYK are generated based on the HEX value, which can deviate from the expected color mix. It's best practice to override the automatic specs if they are incorrect. Test prints are the best way to dial in the perfect CMYK values for a color.
While editing a color style, select the **Auto** toggle under the specs settings group. This will unlock the fields allowing them to be overridden.
No color specs are required, just a HEX value for the color itself.