> ## Documentation Index
> Fetch the complete documentation index at: https://help.standards.site/llms.txt
> Use this file to discover all available pages before exploring further.
# Adding Content
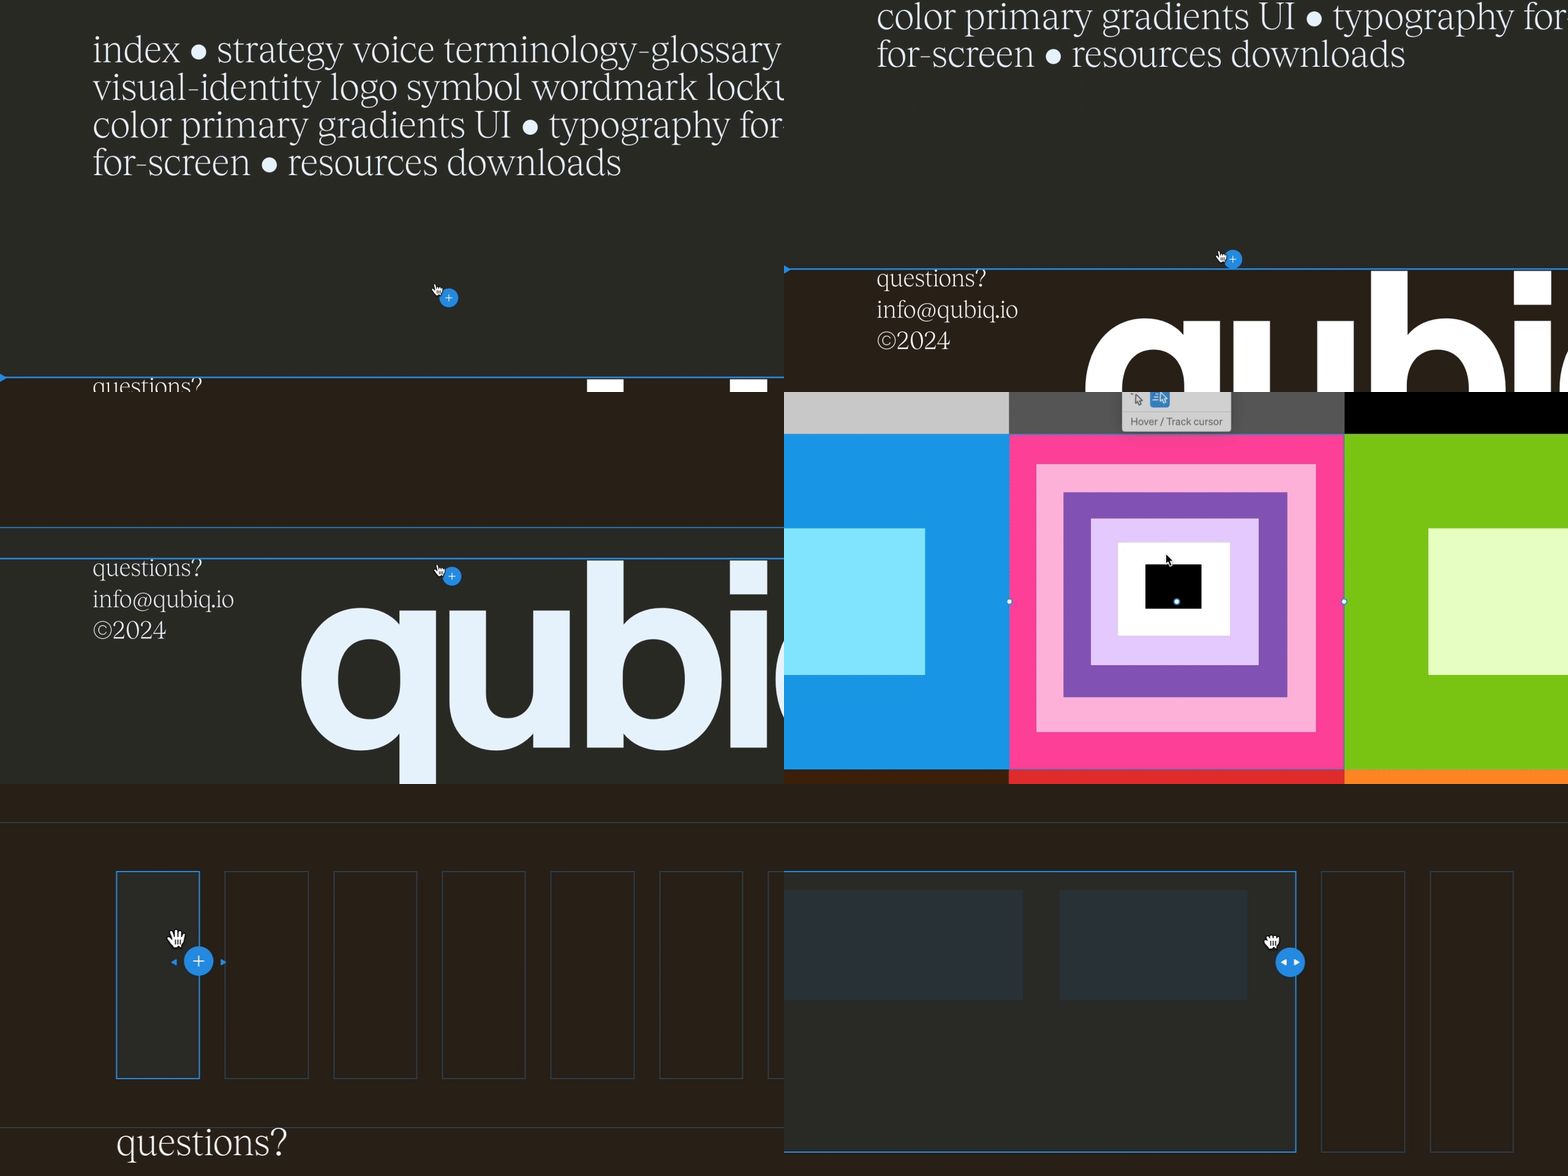
Adding content is fundamental to creating your Standards site. Whether you start with an outline or from scratch, adding content is what makes it yours.
 ***
## Basics
At its simplest, adding is the action of choosing what you want to add then selecting where you want to add it. Keep in mind, all content from carousels to text can be added following the same basic method.
### How to add
***
## Basics
At its simplest, adding is the action of choosing what you want to add then selecting where you want to add it. Keep in mind, all content from carousels to text can be added following the same basic method.
### How to add
 Within the design editor, select the `+`dropdown from the top bar
Choose basic elements like **Text** or **Media**, or choose from brand elements like **Color swatch** or **Don't**.
Select a point in the project body by selecting between layouts, click + dragging within, or selecting a point inside a column.
**Tip:** Hold command during step 3 above to enable directly adding into an existing column.
### Adding Automations
Automations are a powerful tool that helps quickly automate adding commonly-used content within brand guidelines.
Within the design editor, select the `+`dropdown from the top bar
Alternately use the hotkey H to quickly enable the Automation add tool
Select a point in the project body by selecting between layouts
Choose the Automation from the pop-up window
Many Automations have multiple steps to choose preferences
### Adding Components
Components are a single-saved design which can be used repeatedly throughout a project. They can be updated at any time from a single location, and any changes will sync across all instances
Within the design editor, select the `+`dropdown from the top bar
Alternatively use the hotkey C to qiickly enable the Component add tool
Select a point in the project body by selecting between layouts, click + dragging within, or selecting a point inside a column.
Choose the component to add from the list of components that can be added to the chosen area you're adding into.
Keep in mind: Where you select will affect what can be added. For instance selecting within a column will show basic components you've created like buttons
***
## Add mode
While adding, you are in a multi-step add mode. Below outlines various common states you will encounter in add mode.
### Add to existing layout
Within the design editor, select the `+`dropdown from the top bar
Choose basic elements like **Text** or **Media**, or choose from brand elements like **Color swatch** or **Don't**.
Select a point in the project body by selecting between layouts, click + dragging within, or selecting a point inside a column.
**Tip:** Hold command during step 3 above to enable directly adding into an existing column.
### Adding Automations
Automations are a powerful tool that helps quickly automate adding commonly-used content within brand guidelines.
Within the design editor, select the `+`dropdown from the top bar
Alternately use the hotkey H to quickly enable the Automation add tool
Select a point in the project body by selecting between layouts
Choose the Automation from the pop-up window
Many Automations have multiple steps to choose preferences
### Adding Components
Components are a single-saved design which can be used repeatedly throughout a project. They can be updated at any time from a single location, and any changes will sync across all instances
Within the design editor, select the `+`dropdown from the top bar
Alternatively use the hotkey C to qiickly enable the Component add tool
Select a point in the project body by selecting between layouts, click + dragging within, or selecting a point inside a column.
Choose the component to add from the list of components that can be added to the chosen area you're adding into.
Keep in mind: Where you select will affect what can be added. For instance selecting within a column will show basic components you've created like buttons
***
## Add mode
While adding, you are in a multi-step add mode. Below outlines various common states you will encounter in add mode.
### Add to existing layout
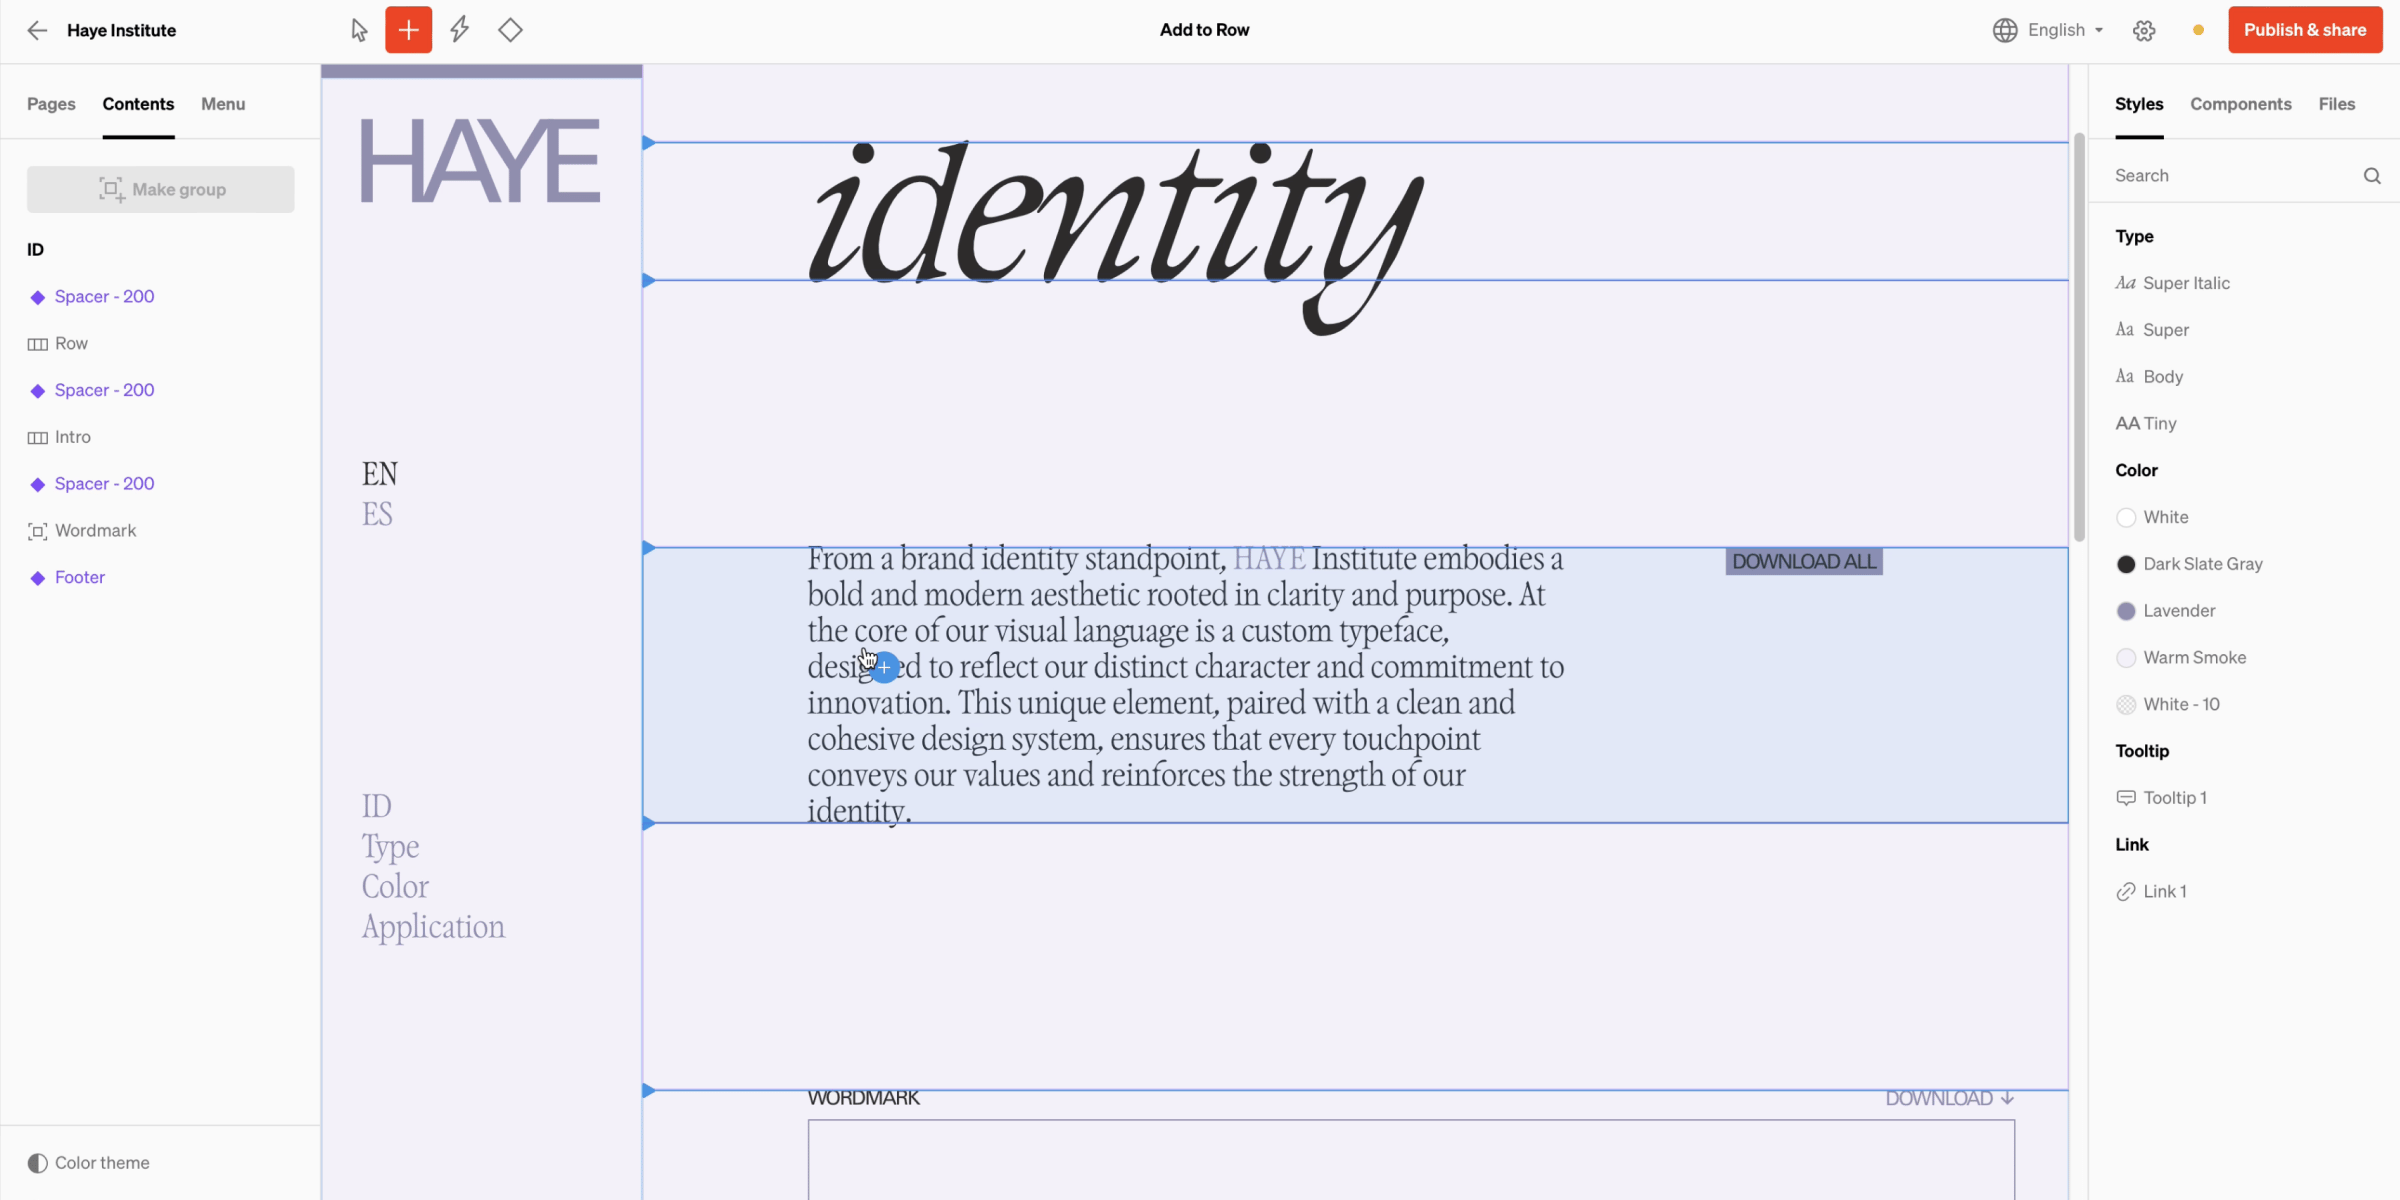 While hovering an existing **group** or **layout**, the entire area will tint. Left click to enter this layer.
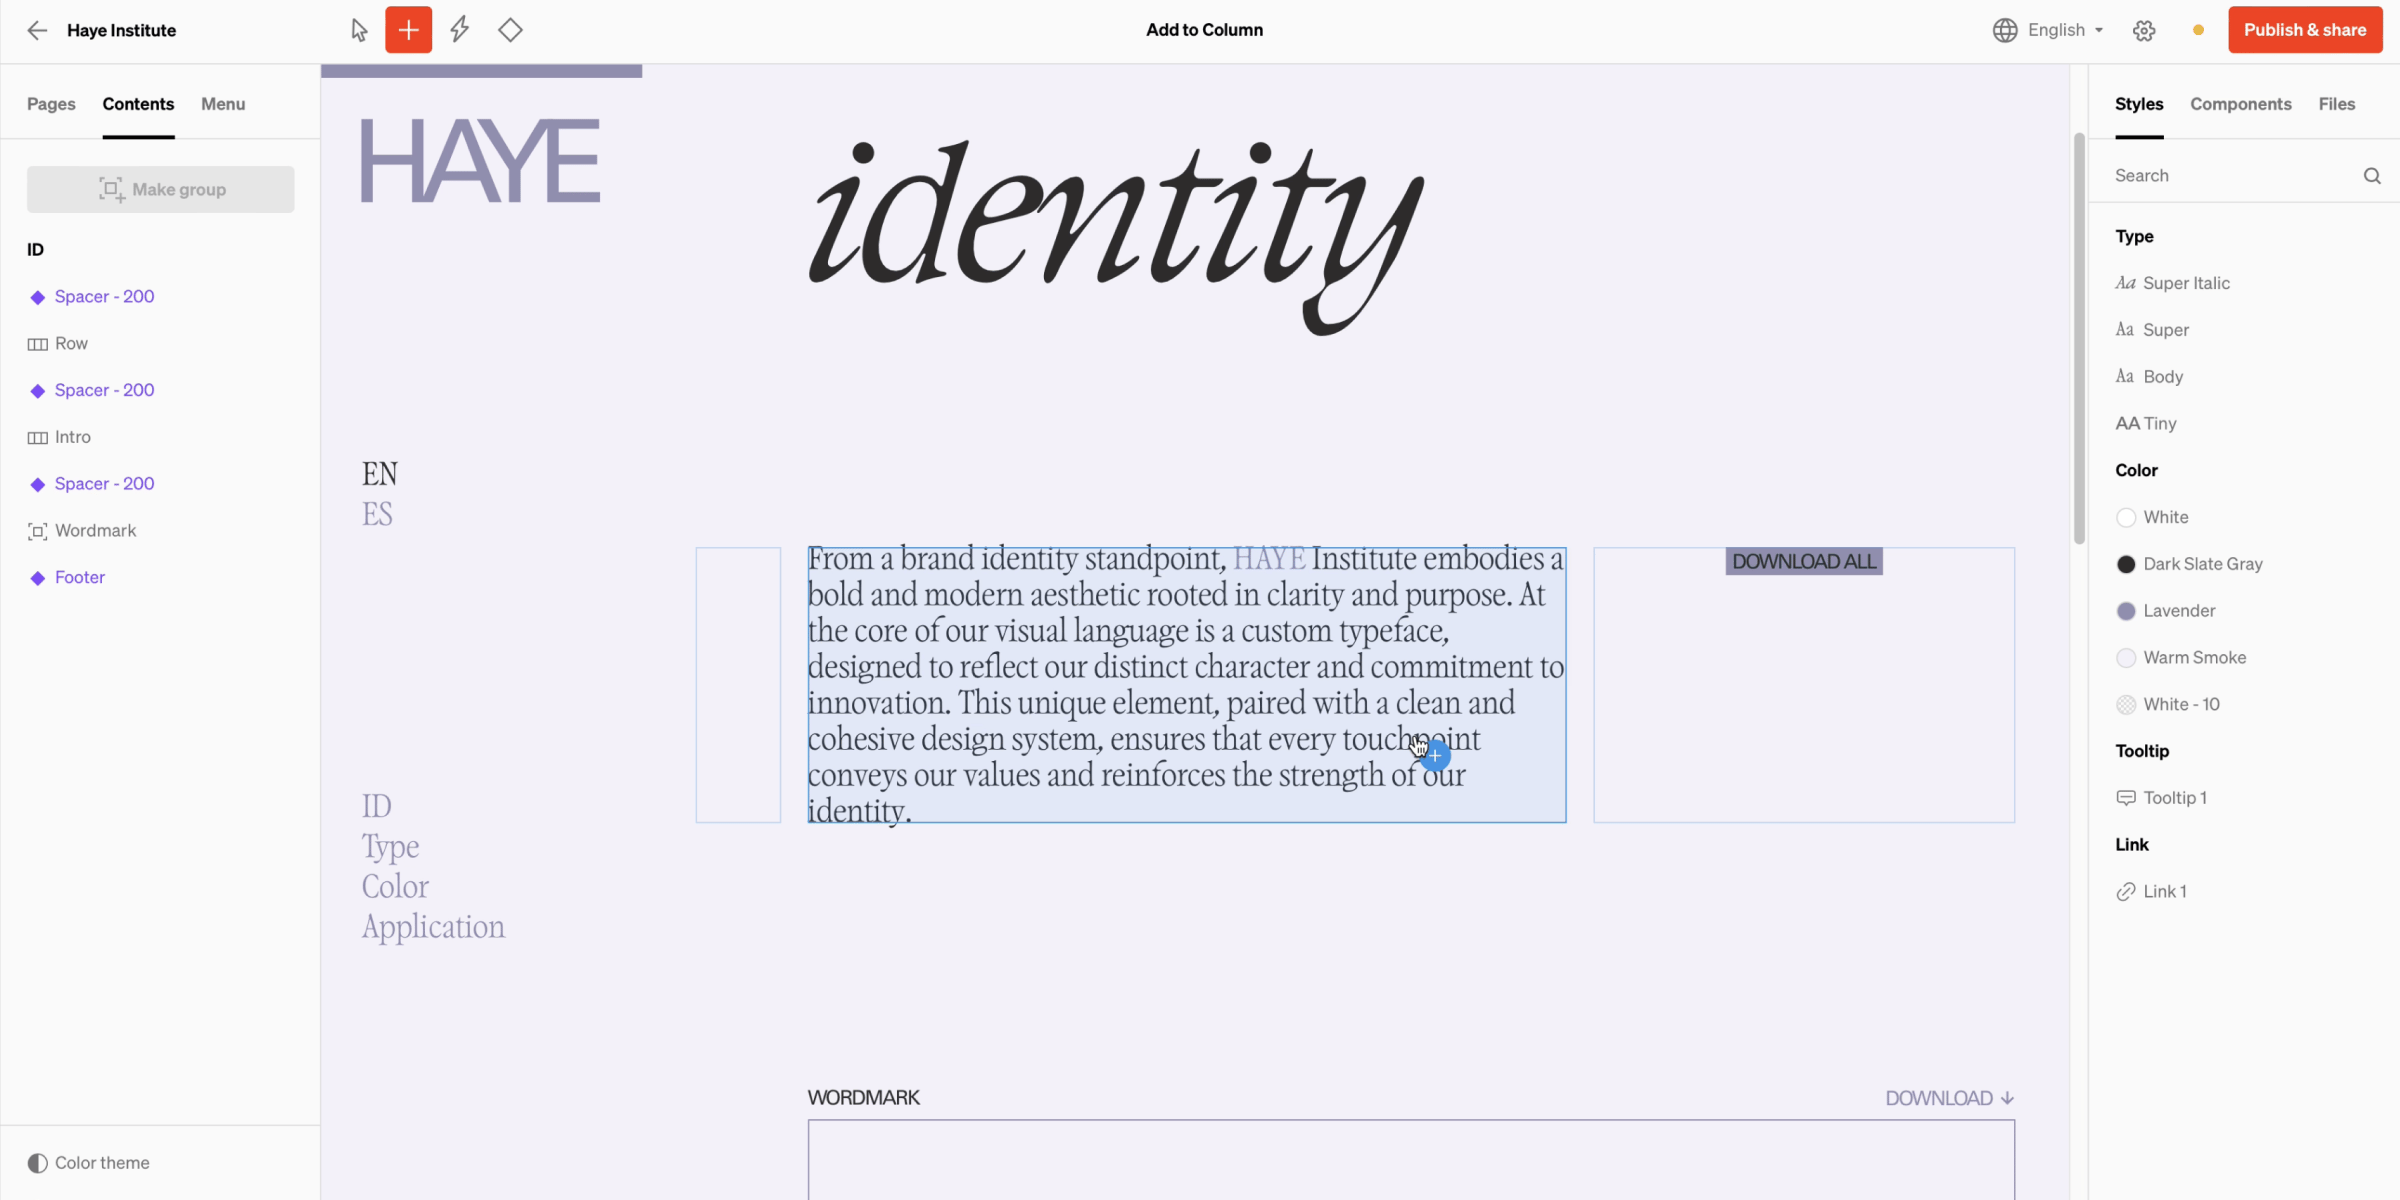 Select an existing **column**, or left click + drag on empty **layouts** to create a new one.
### Create a new layout
Select an existing **column**, or left click + drag on empty **layouts** to create a new one.
### Create a new layout
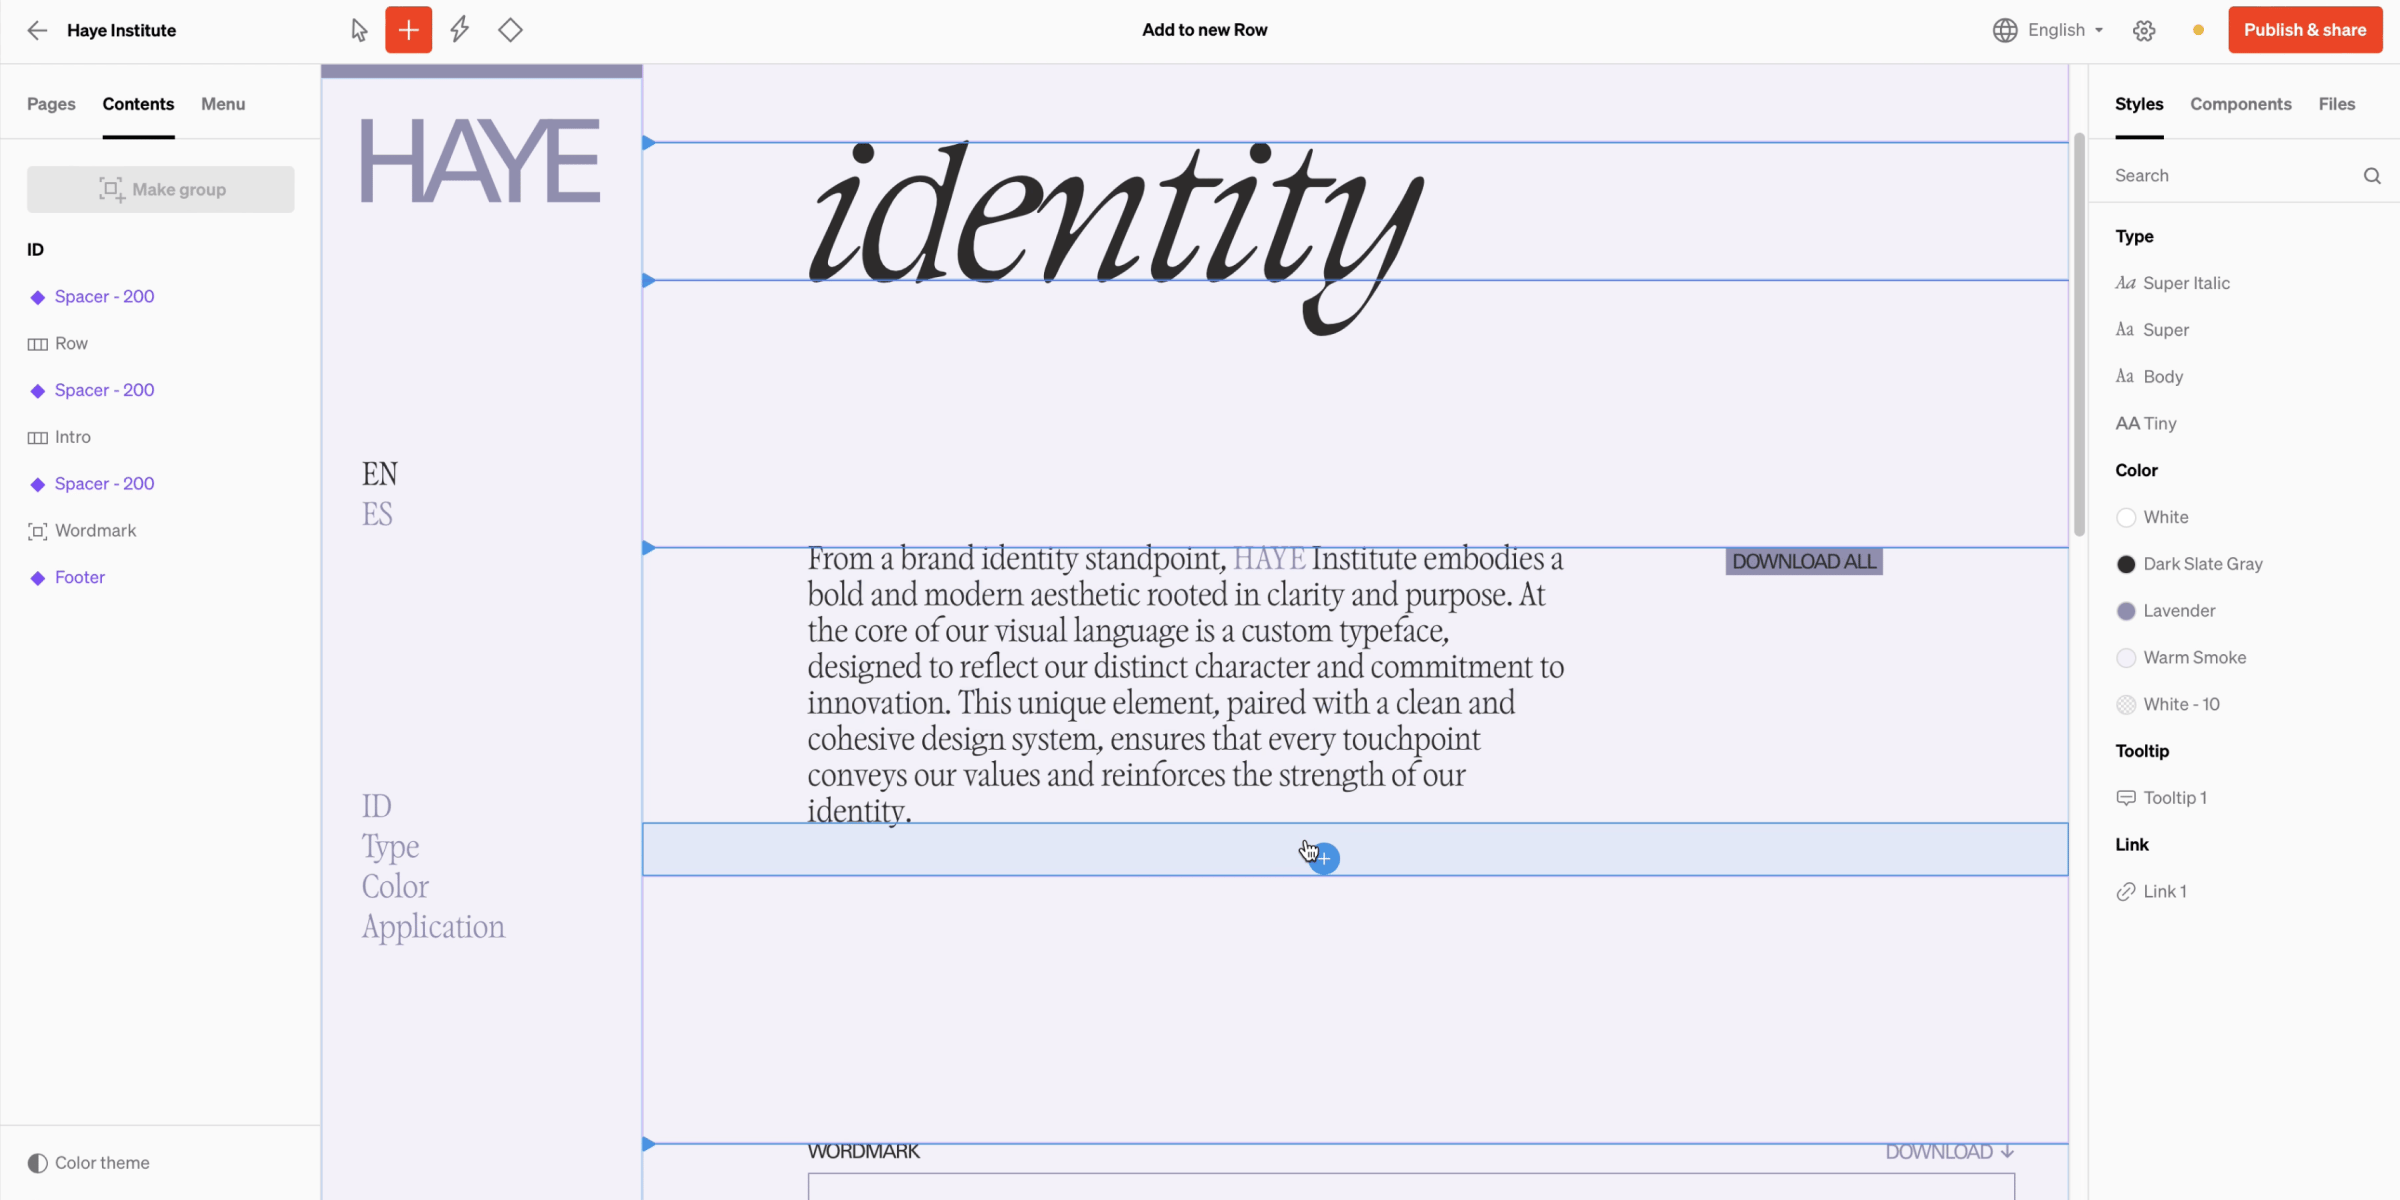 New **layouts** can be added by left clicking between existing ones.
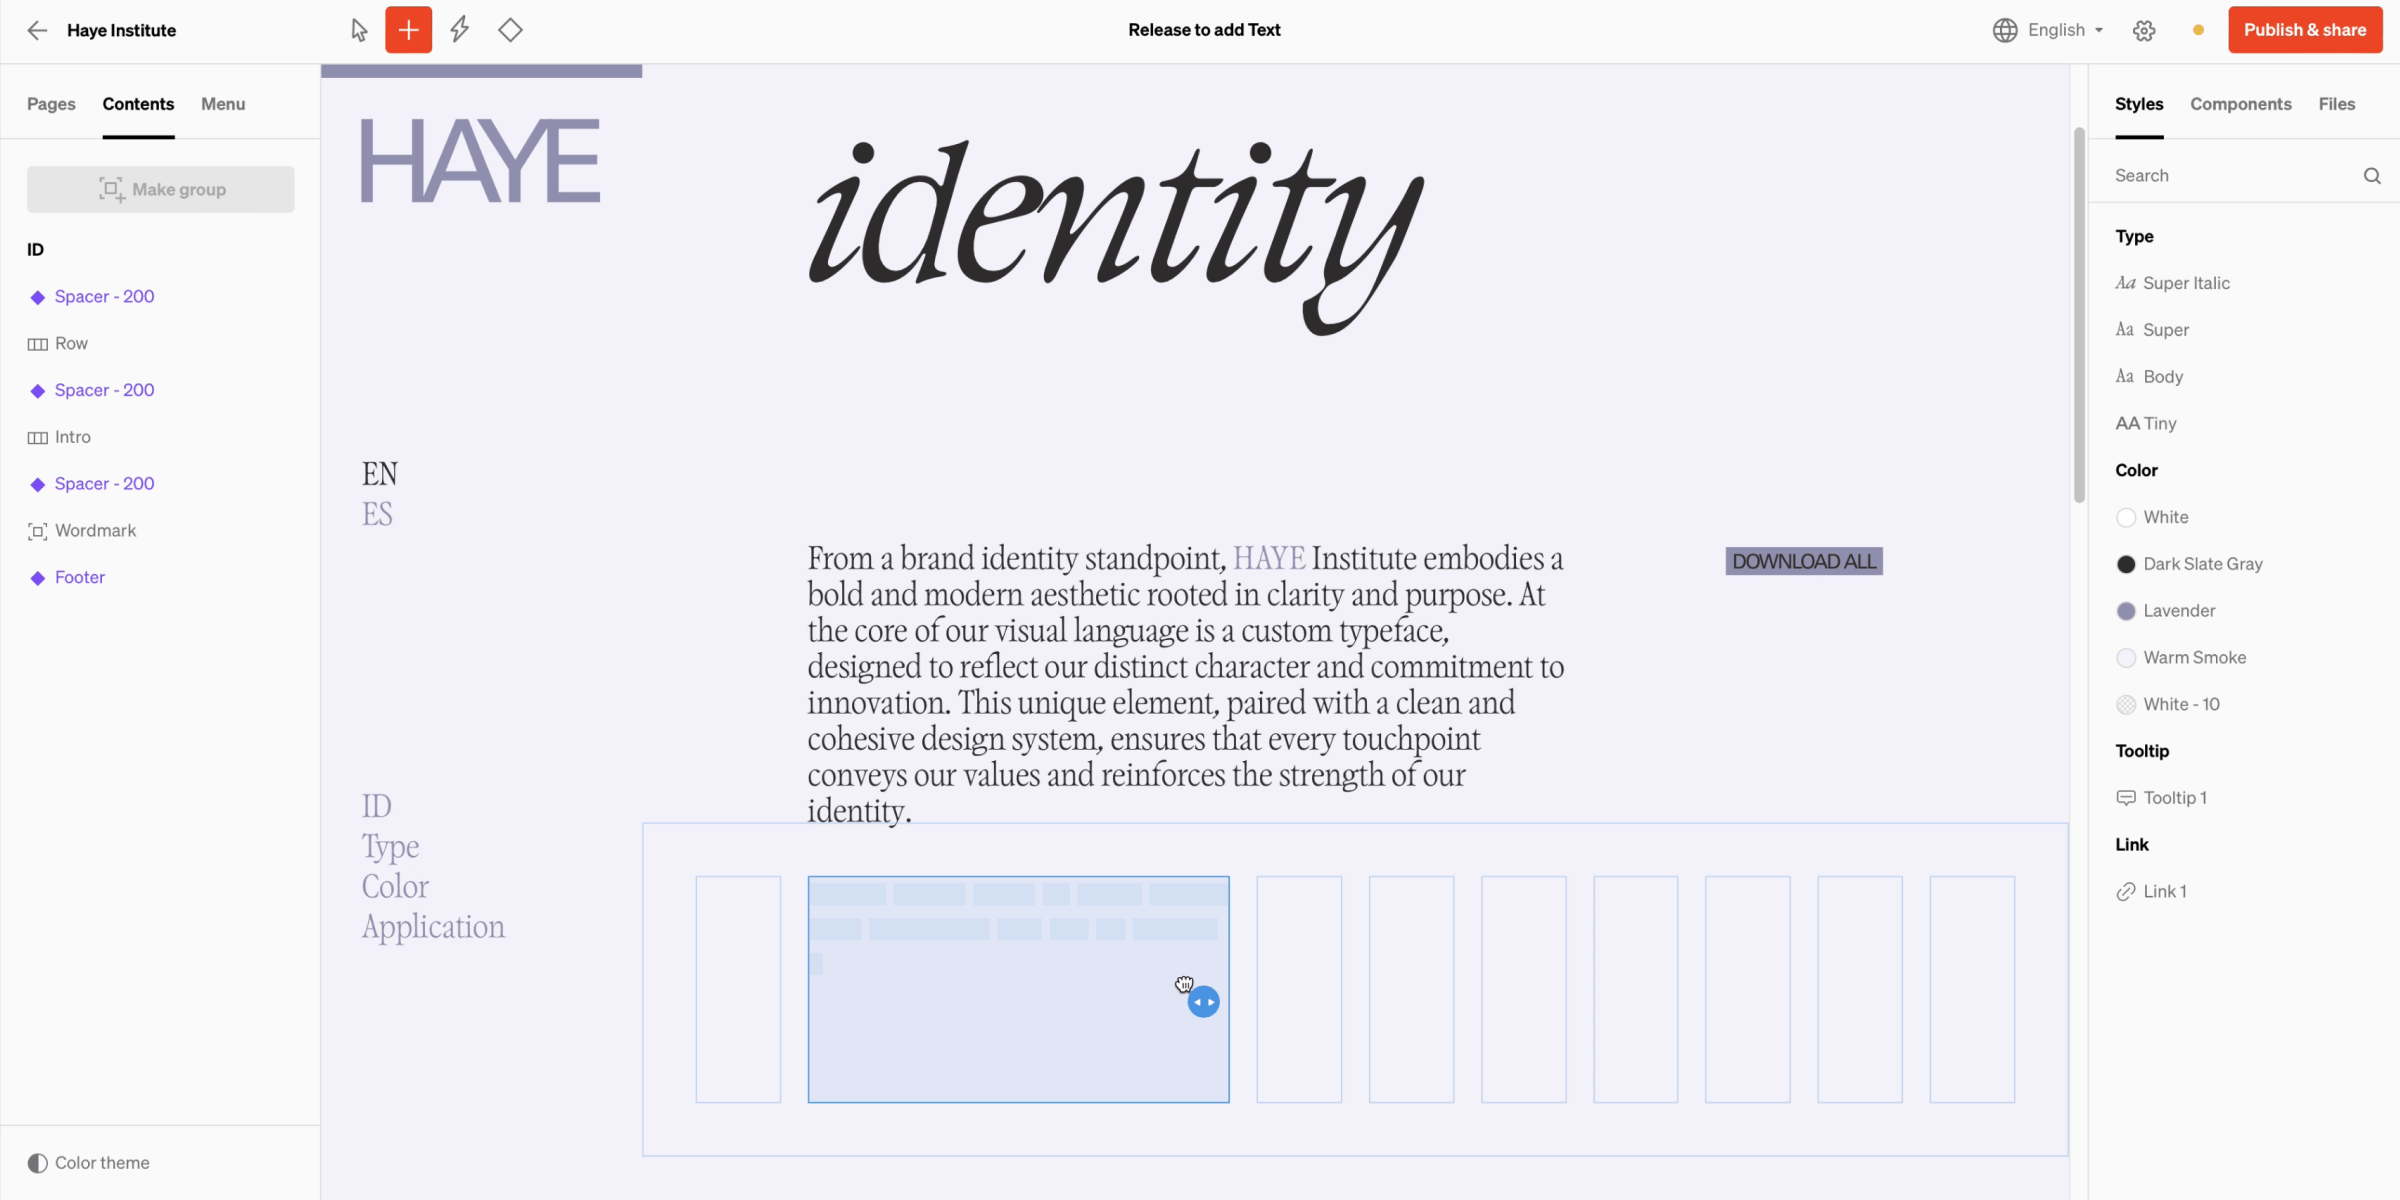 Once inside an existing or new **layouts**, left click + drag to create a new **column** the content will be within.
### Locked areas
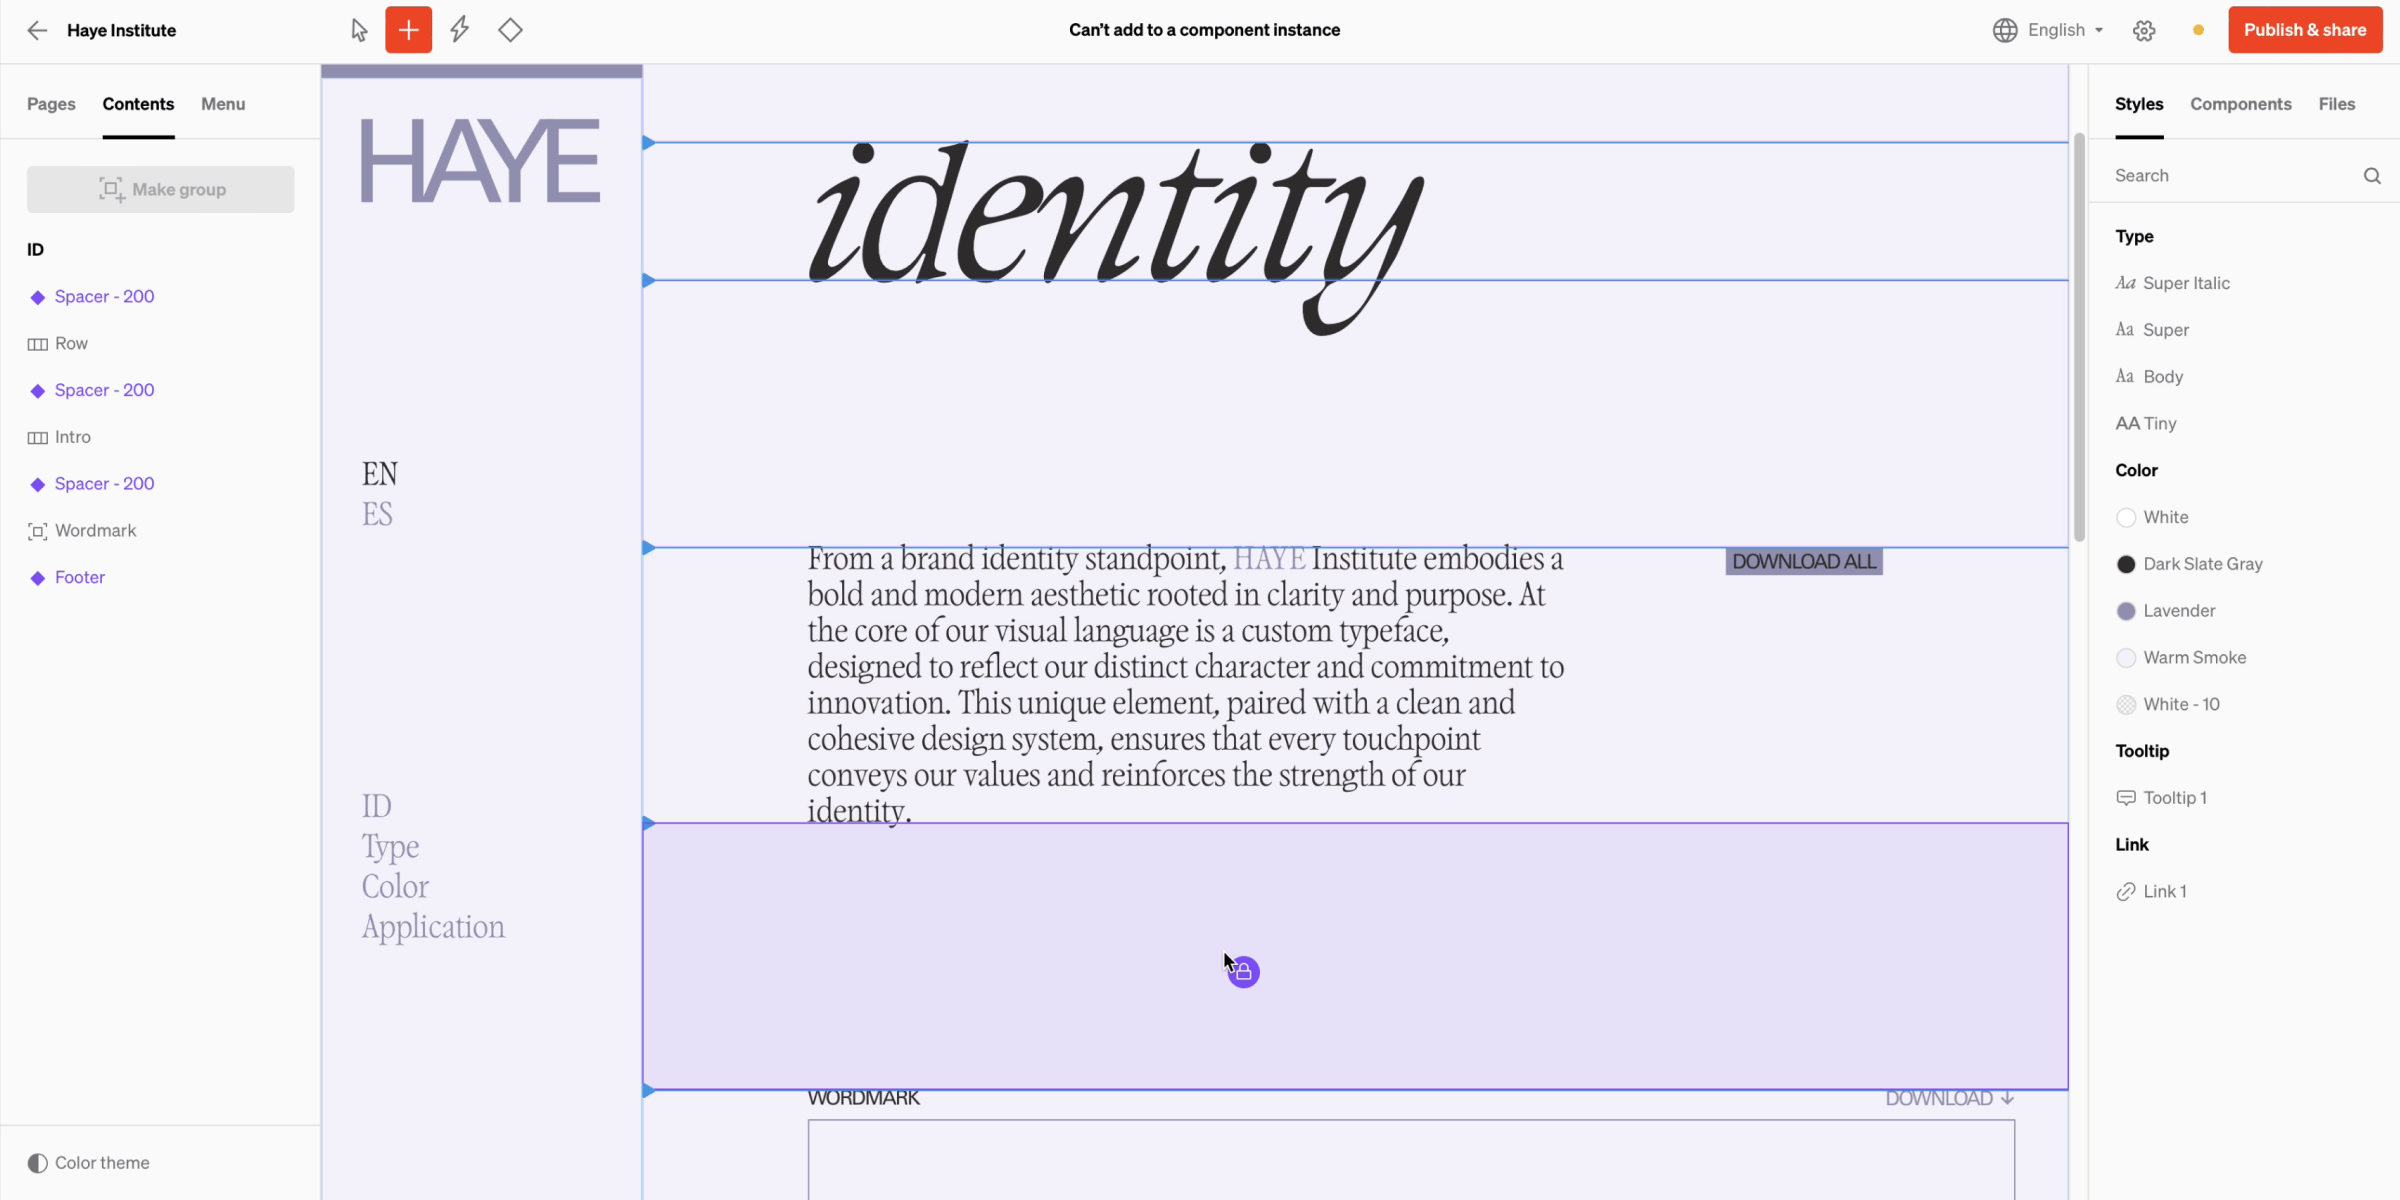
While adding, all component instances will be locked from adding into. To add into components, you must edit the main component itself.
Once inside an existing or new **layouts**, left click + drag to create a new **column** the content will be within.
### Locked areas
While adding, all component instances will be locked from adding into. To add into components, you must edit the main component itself.
 ***
## Tips
### Hotkeys
Use the keyboard hotkeys M (Media), T (Text), B (Button), D (Drodown), S (Spacer), A (Automation), C (Component) to quickly select the that content type to add.
### Add directly to a column
When in add mode, press and hold the command key to bypass the first clicks, and directly add into an existing column.
***
## Tips
### Hotkeys
Use the keyboard hotkeys M (Media), T (Text), B (Button), D (Drodown), S (Spacer), A (Automation), C (Component) to quickly select the that content type to add.
### Add directly to a column
When in add mode, press and hold the command key to bypass the first clicks, and directly add into an existing column.